【博客搭建记录贴】day4_Hexo基本操作,添加草稿并发布
目录
1.将项目导入到开发环境
我本地已经安装了 IntelliJ IDEA(版本:社区版2022.3.1),也支持node.js,所以准备就直接用IDEA来开发,开发之前先将项目导入到IDEA中。
1.1 先把项目导入到IDEA中
过程如下:
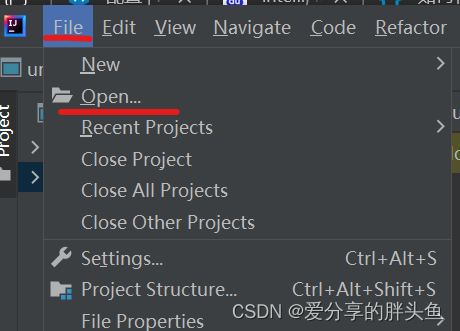
打开IDEA -> File -> Open -> 选择项目所在的文件夹(我这里是:D:\Project\blogProject)-> 点击OK
1.2 确认IDEA中服务器启动正常
点击下面的Terminal -> 输入【hexo server】
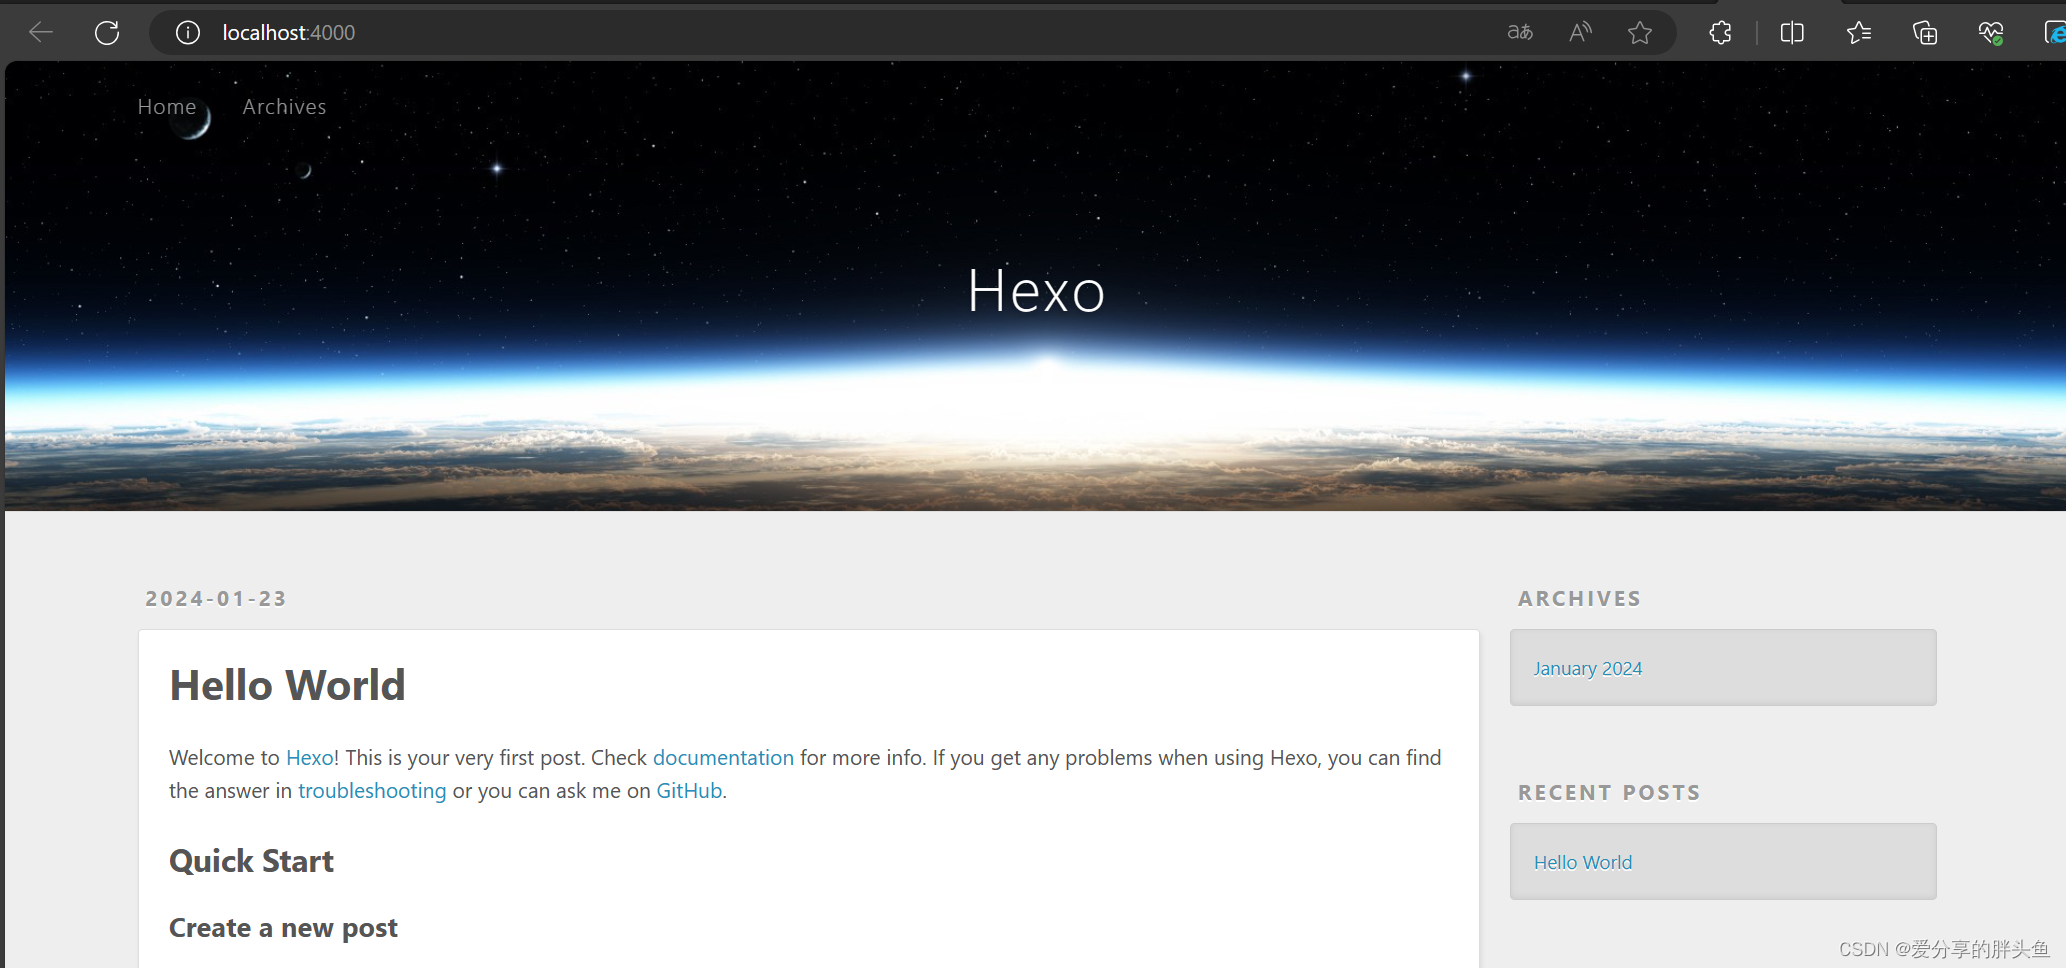
发现服务器在本地正常启动了。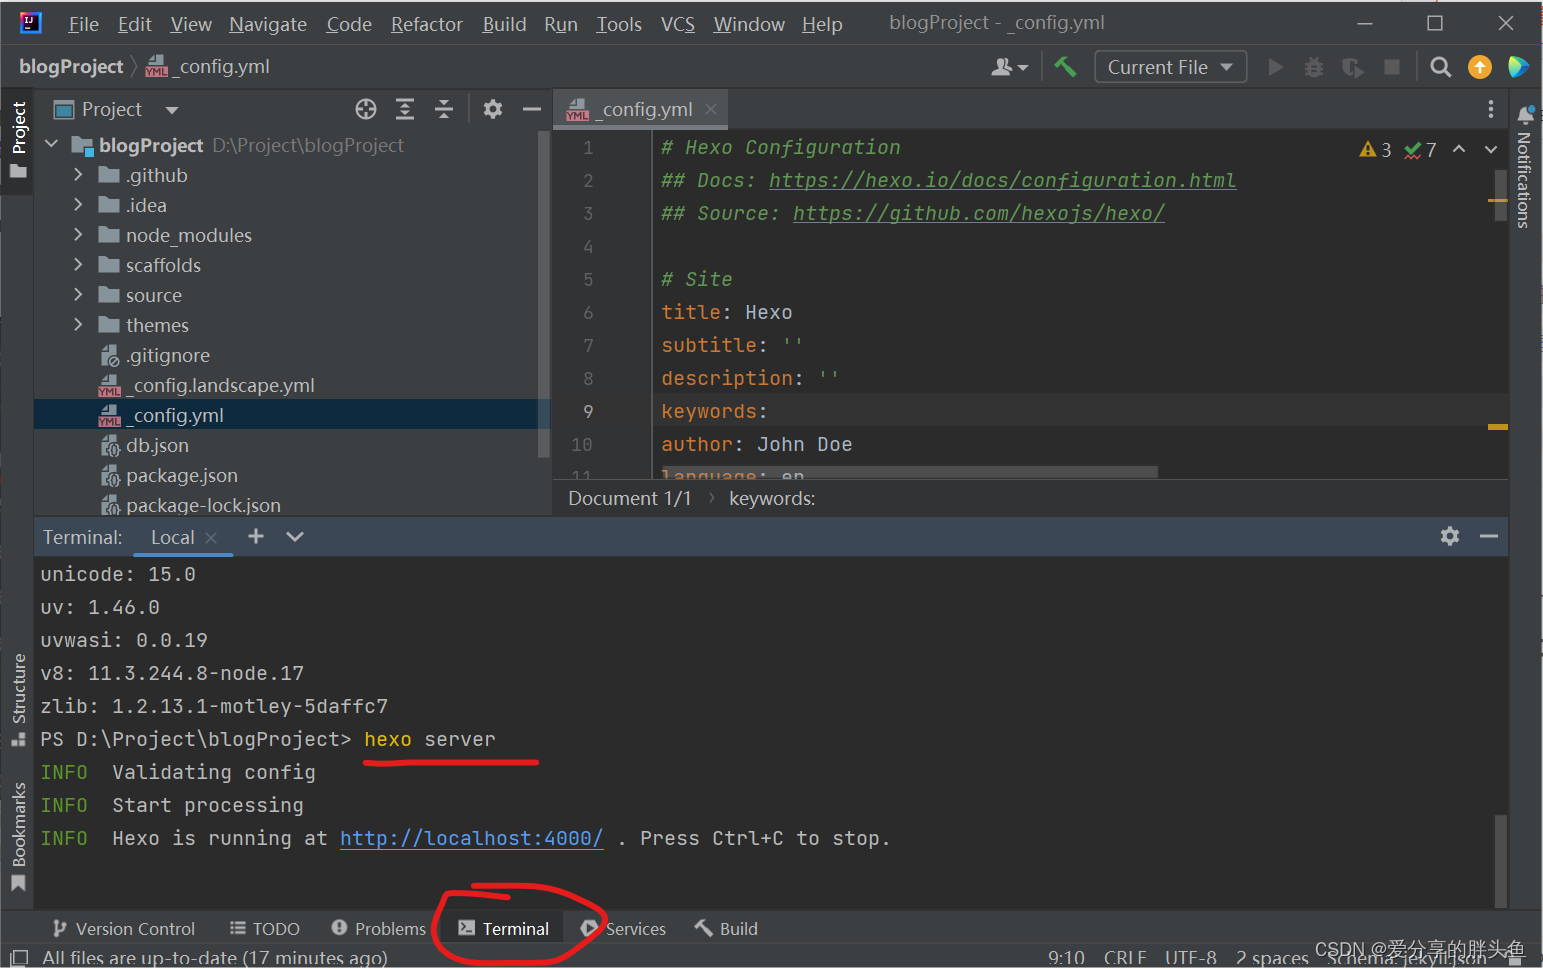
页面如下:
2.Hexo基本操作: 添加草稿并发布
hexo中文手册参考:hexo基本操作
hexo的常见命令:这次涉及的主要是 hexo new 的命令
PS:hexo 的所有命令可以通过hexo --help查看到。
PS D:\Project\blogProject> hexo --help
INFO  Validating config
Usage: hexo <command>

Commands:
  clean     Remove generated files and cache.
  config    Get or set configurations.
  deploy    Deploy your website.
  generate  Generate static files.
  help      Get help on a command.
  init      Create a new Hexo folder.
  list      List the information of the site    #查看博客的信息(比如tag,发表的文章,等)
  migrate   Migrate your site from other system to Hexo.
  new       Create a new post.                 #新规博客
  publish   Moves a draft post from _drafts to _posts folder.   #将文章从草稿箱移动到发布区域
  --config  Specify config file instead of using _config.yml
  --cwd     Specify the CWD
  --debug   Display all verbose messages in the terminal
  --draft   Display draft posts
  --safe    Disable all plugins and scripts

For more help, you can use 'hexo help [command]' for the detailed information
or you can check the docs: http://hexo.io/docs/
添加草稿文章命令参考: hexo 写作
hexo new [layout] [title]
- layout:目前只理解post(最终文章)和draft(草稿),另外两个先不管。
- title:文章标题,自己定义即可。
PS D:\Project\blogProject> hexo new --help
INFO  Validating config
Description:
Create a new post.
Arguments:
  layout  Post layout. Use post, page, draft or whatever you want.
  title   Post title. Wrap it with quotations to escape.
Options:
  -p, --path     Post path. Customize the path of the post.
  -r, --replace  Replace the current post if existed.
  -s, --slug     Post slug. Customize the URL of the post.
2.1 生成一个草稿文件
使用hexo命令生成一个标题为【为什么有这个博客网站】的草稿文件
PS D:\Project\blogProject> hexo new draft "为什么有这个博客网站"
INFO  Validating config
INFO  Created: D:\Project\blogProject\source\_drafts\为什么有这个博客网站.md
生成结果如下:
- 看到生成一个新的文件夹_drafts(之后所有的草稿都在这个目录),里面生成了指定标题的文件。
- 中间区域是文章的编辑区域
- 右边区域是文章的显示区域

随便写点内容上去,方便后续看效果。

2.2 在页面上查看草稿
如果直接使用【hexo server】启动服务器,发现草稿没有显示:
原因是草稿默认不会显示在页面中,可在执行时加上 --draft 参数,便可以在网页上查看到草稿。
使用–draft启动服务。
PS D:\Project\blogProject> hexo server --draft
INFO  Validating config
INFO  Start processing
INFO  Hexo is running at http://localhost:4000/ . Press Ctrl+C to stop.
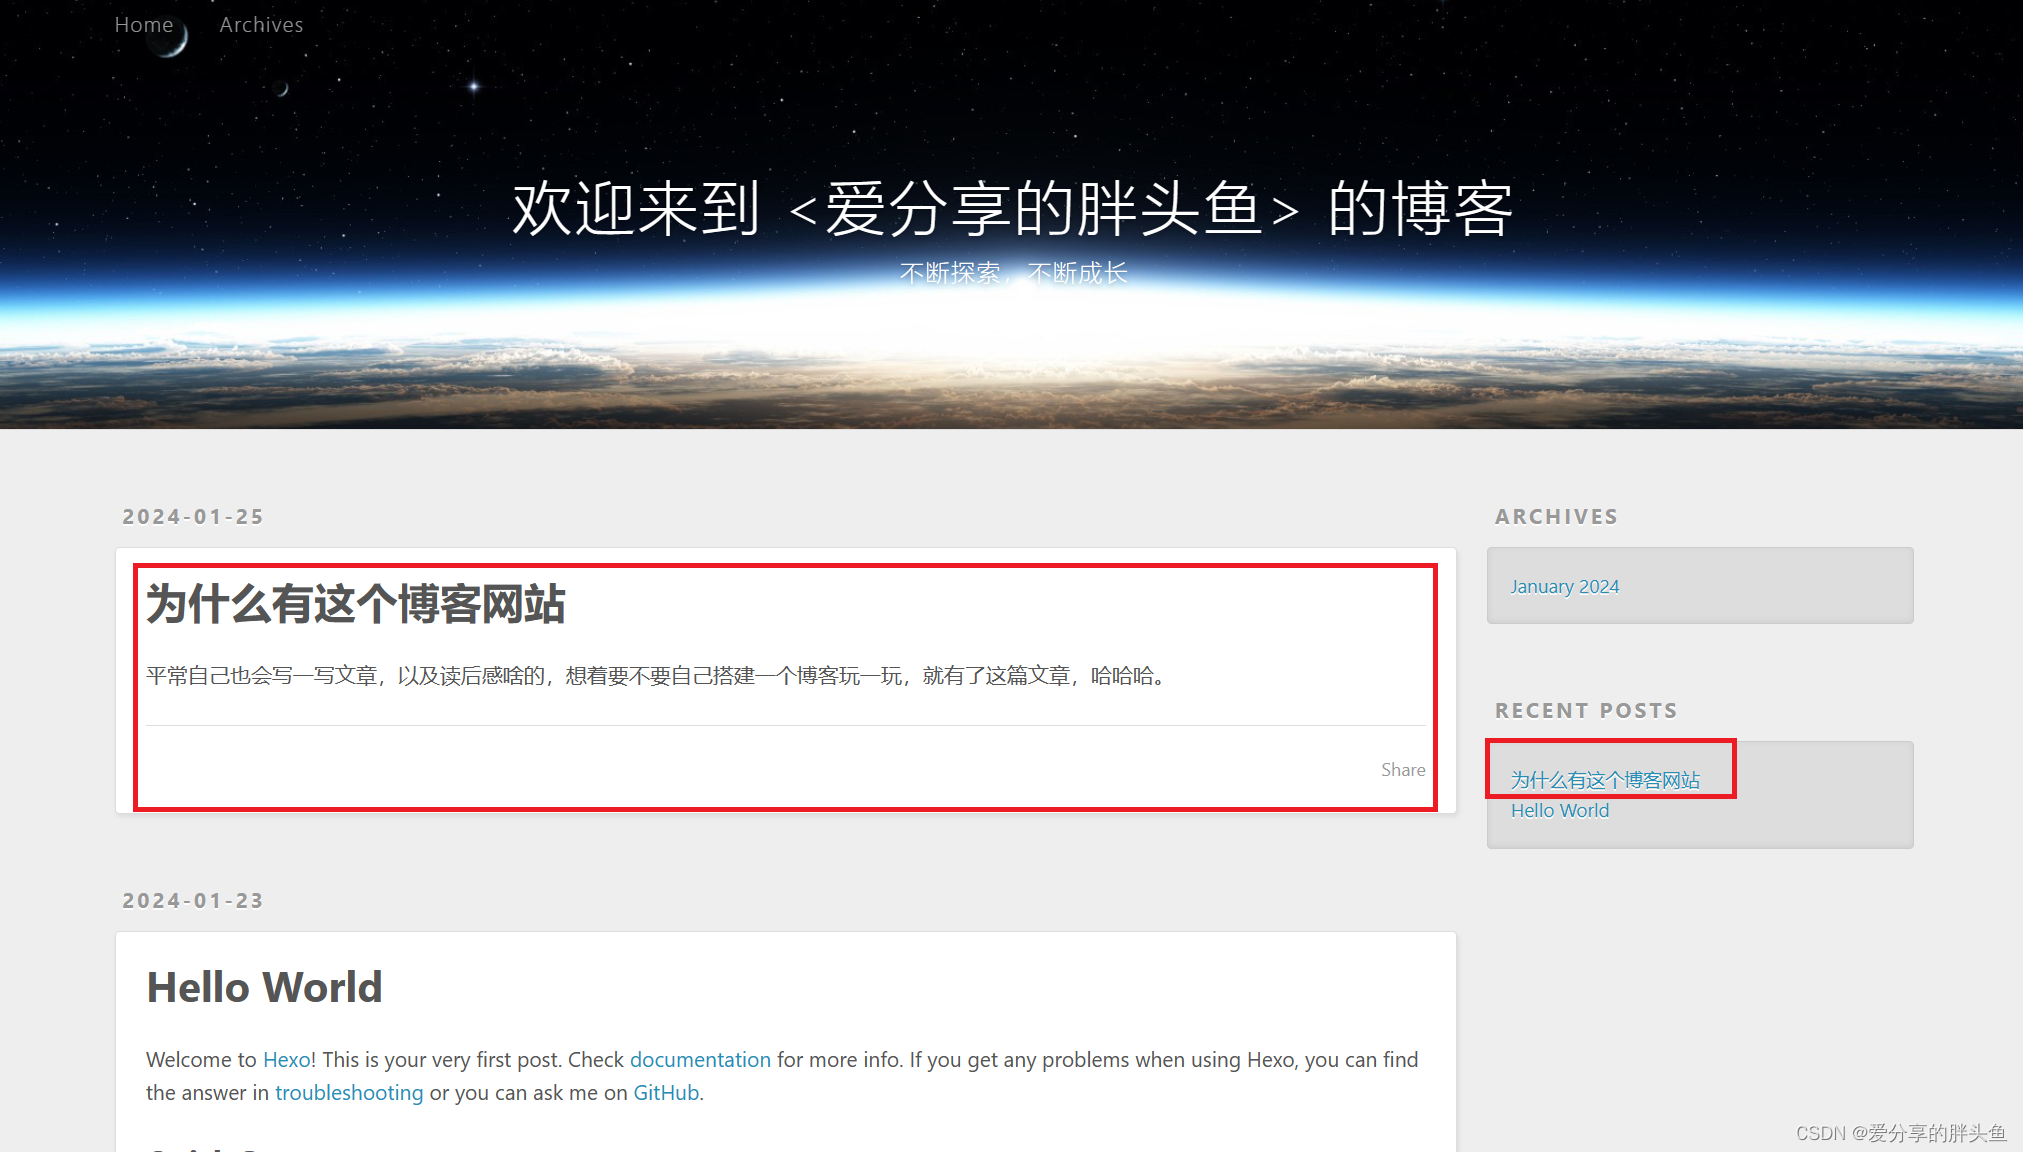
启动之后草稿的显示如下:
3.3 将草稿正式发布
使用hexo publish命令,指定要发布的文章的标题:
PS D:\Project\blogProject> hexo publish post '为什么有这个博客网站'
INFO  Validating config
INFO  Published: D:\Project\blogProject\source\_posts\为什么有这个博客网站.md
发现文章从草稿箱_drafts目录移动到了_posts目录
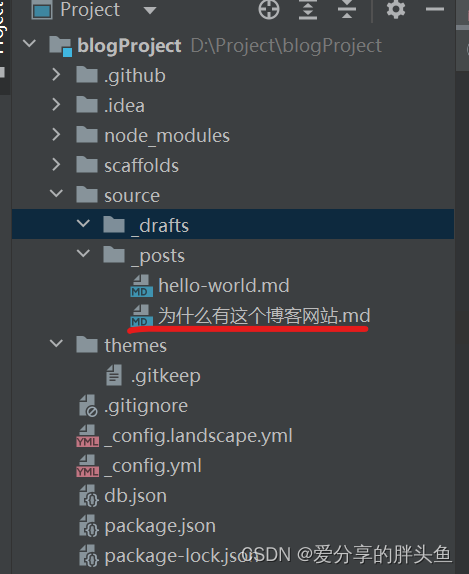
这个时候重新启动服务,就不需要参数–draft了。
启动后的页面,能够正常看到上面的文章。
草稿的使用就到这里了,接下来去试试其他的操作!
原文地址:https://blog.csdn.net/bigear_yu/article/details/135831115
免责声明:本站文章内容转载自网络资源,如本站内容侵犯了原著者的合法权益,可联系本站删除。更多内容请关注自学内容网(zxcms.com)!
