composer安装hyperf后,nginx配置hyperf
背景
引入hyperf项目用作微服务,使用composer 安装hyperf后,对hyperf进行nginx配置。
配置步骤
因为hyperf监听的是端口,不像其他laravel、lumen直接指向文件即可。所有要监听端口号。
- 1 配置nginx
server {
    listen 80;//http:80 https:443 根据你自己需要配置
    server_name jms.51about.com;//此处域名根据你配置的域名确定

    location / {
        proxy_pass http://127.0.0.1:9501;//此处端口需要根据你hyperf具体端口而定,一般默认是9501
        proxy_http_version 1.1;
        proxy_set_header Upgrade $http_upgrade;
        proxy_set_header Connection 'upgrade';
        proxy_set_header Host $host;
        proxy_cache_bypass $http_upgrade;
    }
}
nginx配置好,就需要重启nginx。
- 2 重启nginx
systemctl restart nginx.service
重启好以后,需要进入你项目目录启动hyperf项目。
我的项目目录在:/var/www/hyperf-skeleton (根据你自己的目录)
- 3 启动hyperf命令:
php bin/hyperf.php start
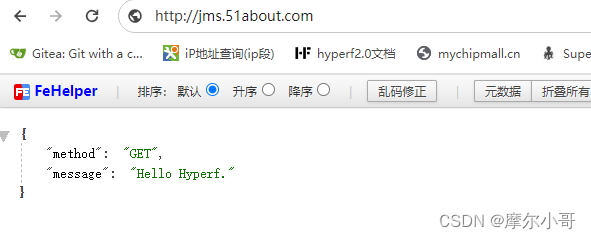
- 4 访问配置结果

如果浏览器输入你配置的域名访问出现如上界面。恭喜你配置成功!
原文地址:https://blog.csdn.net/t_fengyun/article/details/135839329
免责声明:本站文章内容转载自网络资源,如侵犯了原著者的合法权益,可联系本站删除。更多内容请关注自学内容网(zxcms.com)!
