第三十六章 Vue之路由重定向/404页面设置/路径模式设置
目录
一、路由重定向
当我们打开网页时, url 默认是 / 路径,这时如果 / 路径未匹配到对应的页面组件时,就会显示空白。如果我们想设定路径未匹配到对应组件时,将请求重定向到一个指定的页面,这时候我们就可以使用到Vue提供给的路由重定向功能。

1.1. 使用方式
说明:重定向 → 匹配path后, 强制跳转path路径
语法: { path: 匹配路径, redirect: 重定向到的路径 }

1.2. 完整代码
1.2.1. main.js
import Vue from 'vue'
import App from './App.vue'
import router from './router/index'

Vue.config.productionTip = false

new Vue({
  render: h => h(App),
  router
}).$mount('#app')
1.2.2. App.vue
<template>
  <div id="app">
    <div class="link">
      <router-link to="/home">首页</router-link>
      <router-link to="/search">搜索页</router-link>
    </div>

    <router-view></router-view>
  </div>
</template>

<script>
export default {};
</script>

<style scoped>
.link {
  height: 50px;
  line-height: 50px;
  background-color: #495150;
  display: flex;
  margin: -8px -8px 0 -8px;
  margin-bottom: 50px;
}
.link a {
  display: block;
  text-decoration: none;
  background-color: #ad2a26;
  width: 100px;
  text-align: center;
  margin-right: 5px;
  color: #fff;
  border-radius: 5px;
}
</style>
1.2.3. index.js
import Home from '@/views/Home'
import Search from '@/views/Search'
import NotFound from '@/views/NotFound'
import Vue from 'vue'
import VueRouter from 'vue-router'
Vue.use(VueRouter) // VueRouter插件初始化

// 创建了一个路由对象
const router = new VueRouter({
  routes: [
    { path: '/', redirect: '/home' },
    { path: '/home', component: Home },
    { path: '/search/:words?', component: Search }
  ],
  mode: "history"
})

export default router
1.2.4. Search.vue
<template>
  <div class="search">
    <p>搜索关键字: {{ $route.query.key }}</p>
    <p>搜索结果: </p>
    <ul>
      <li>.............</li>
      <li>.............</li>
      <li>.............</li>
      <li>.............</li>
    </ul>
  </div>
</template>

<script>
export default {
  name: 'MyFriend',
  created () {
    console.log(this.$route.query);
  }
}
</script>

<style>
.search {
  width: 400px;
  height: 240px;
  padding: 0 20px;
  margin: 0 auto;
  border: 2px solid #c4c7ce;
  border-radius: 5px;
}
</style>
1.2.5. Home.vue
<template>
  <div class="home">
    <div class="logo-box"></div>
    <div class="search-box">
      <input type="text">
      <button>搜索一下</button>
    </div>
    <div class="hot-link">
      热门搜索:
      <router-link to="/search/?key=王哲晓">王哲晓</router-link>
      <router-link to="/search?key=学习Vue">学习Vue</router-link>
      <router-link to="/search?key=想成为大牛的前提先得持续学习">想成为大牛的前提先得持续学习</router-link>
    </div>
  </div>
</template>

<script>
export default {
  name: 'FindMusic'
}
</script>

<style>
.logo-box {
  height: 150px;
  background: url('@/assets/vue.jpeg') no-repeat center;
}
.search-box {
  display: flex;
  justify-content: center;
}
.search-box input {
  width: 400px;
  height: 30px;
  line-height: 30px;
  border: 2px solid #c4c7ce;
  border-radius: 4px 0 0 4px;
  outline: none;
}
.search-box input:focus {
  border: 2px solid #ad2a26;
}
.search-box button {
  width: 100px;
  height: 36px;
  border: none;
  background-color: #ad2a26;
  color: #fff;
  position: relative;
  left: -2px;
  border-radius: 0 4px 4px 0;
}
.hot-link {
  width: 508px;
  height: 60px;
  line-height: 60px;
  margin: 0 auto;
}
.hot-link a {
  margin: 0 5px;
}
</style>
1.3. 运行效果
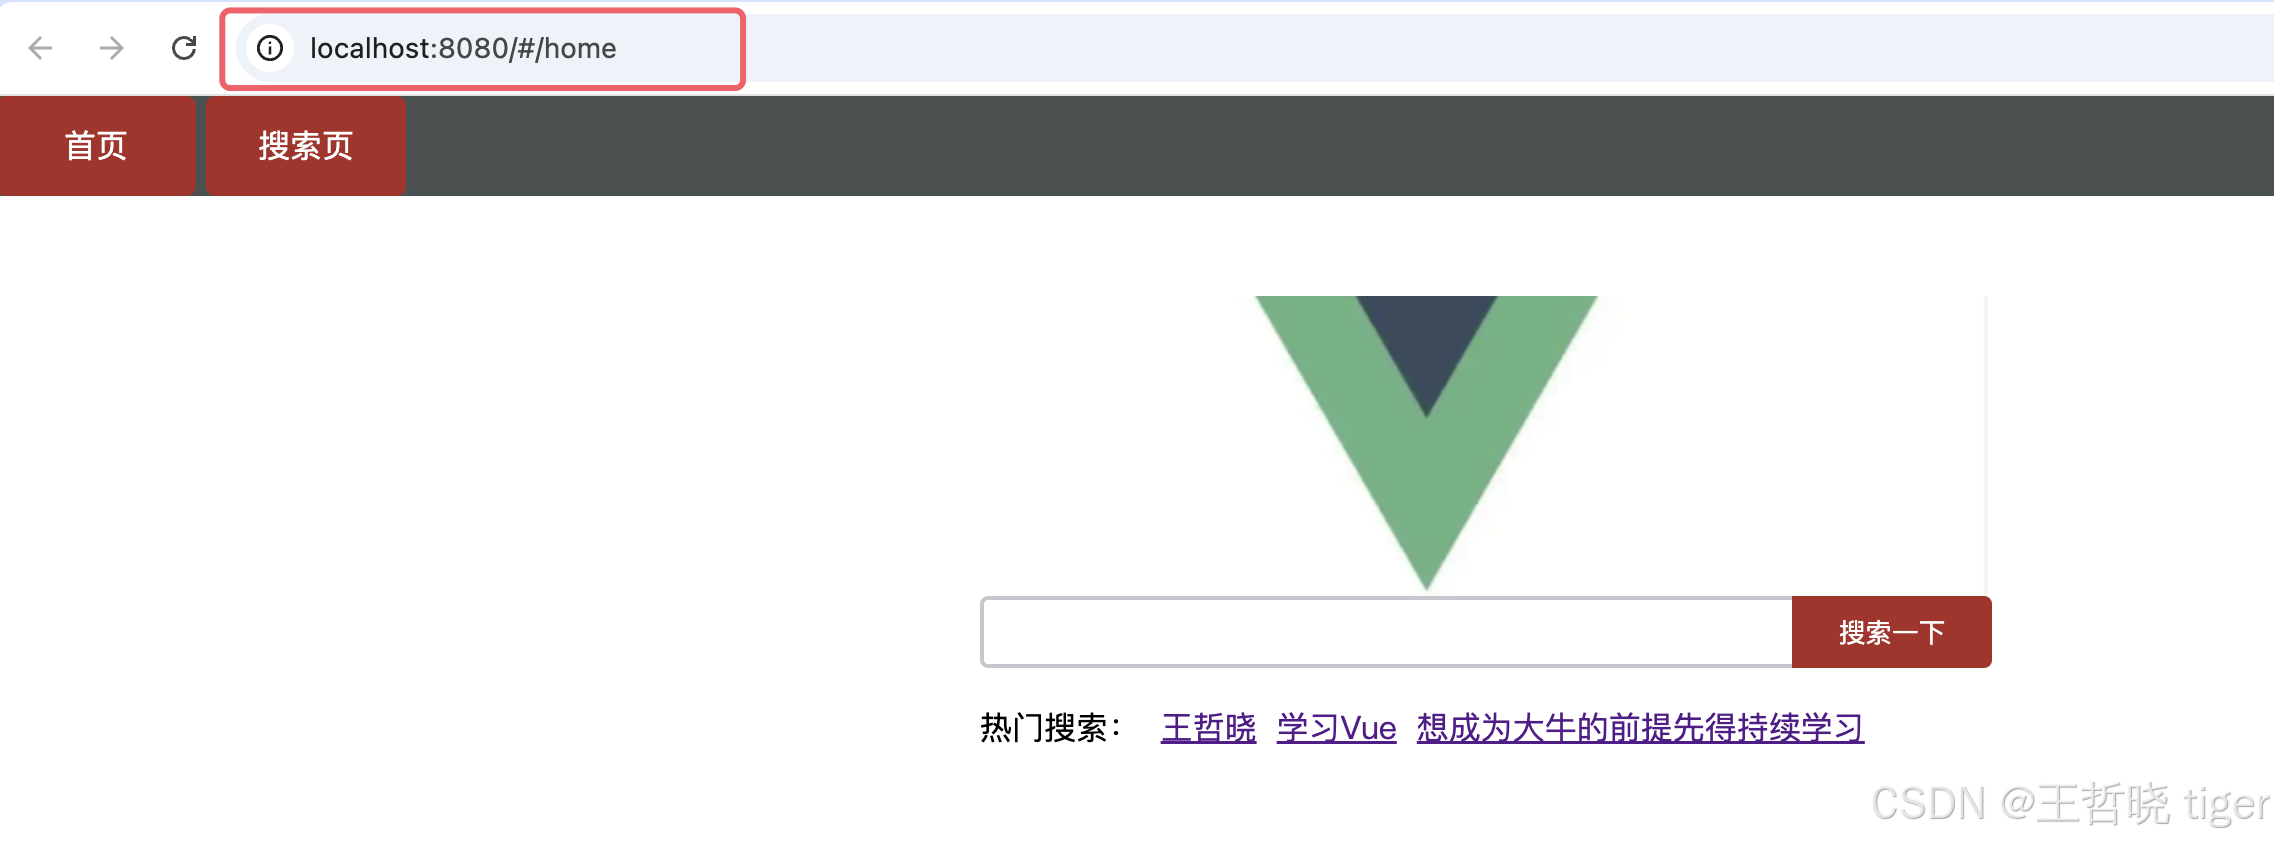
当我们配置了 / 路径的请求重定向之后,访问路径/就会自动跳转到home页面:

二、设定404错误页面
2.1. 使用方式
作用:当路径找不到匹配时,给个提示页面
位置:配在路由最后
语法:path: "*" (任意路径) – 前面不匹配就命中最后这个

2.2. 完整代码
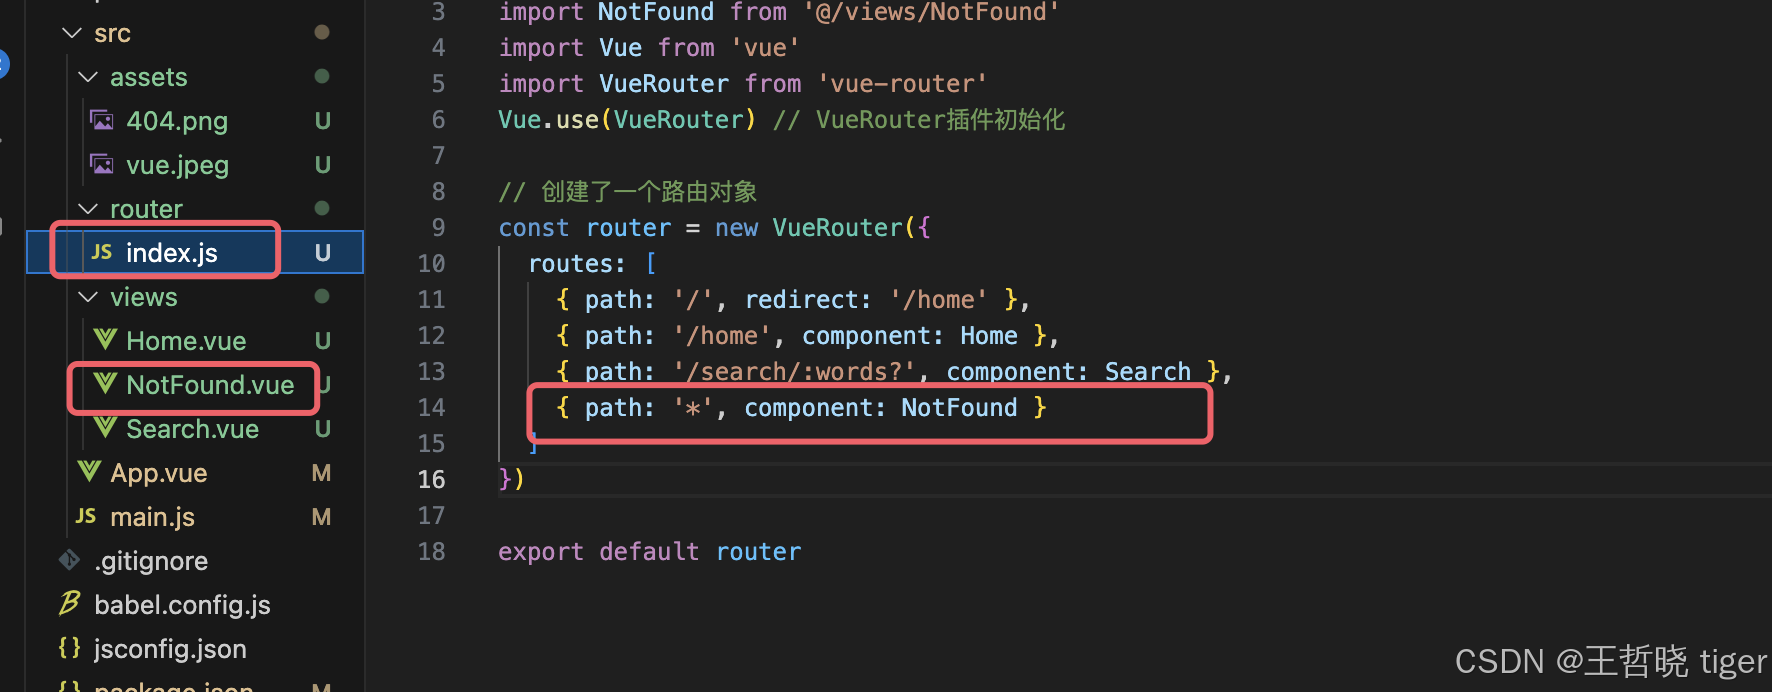
我们在前面代码的基础上稍做调整,新增一个NotFound页面,同时index.js中增加配置,代码中的404图片大家可以在百度上随意选择一张替换使用,高宽样式调整一下即可。
2.2.1. index.js
import Home from '@/views/Home'
import Search from '@/views/Search'
import NotFound from '@/views/NotFound'
import Vue from 'vue'
import VueRouter from 'vue-router'
Vue.use(VueRouter) // VueRouter插件初始化

// 创建了一个路由对象
const router = new VueRouter({
  routes: [
    { path: '/', redirect: '/home' },
    { path: '/home', component: Home },
    { path: '/search/:words?', component: Search },
    { path: '*', component: NotFound }
  ]
})

export default router
2.2.2. NotFound.vue
<template>
  <div class="notfound-box">

  </div>
</template>

<script>
export default {
  name: 'NotFound'
}
</script>

<style>
.notfound-box {
  height: 450px;
  background: url('@/assets/404.png') no-repeat center;
}
</style>
2.2.3. 运行效果

三、路由模式设置
我们前面章节在学习路由的时候,路径看起来很不自然,因为在路径上有#。严格意义上讲,在线上环境,路径一般是不存在#号的,因此我们可以通过Vue提供的模式设置功能,将路径形式切换成我们平时使用到的 / 形式。
3.1. 使用方式
hash路由(默认) 例如: http://localhost:8080/#/home
history路由(常用) 例如: http://localhost:8080/home (以后上线需要服务器端支持)

3.2. 完整代码
我们在前面代码的基础上,仅对index.js稍做修改:
import Home from '@/views/Home'
import Search from '@/views/Search'
import NotFound from '@/views/NotFound'
import Vue from 'vue'
import VueRouter from 'vue-router'
Vue.use(VueRouter) // VueRouter插件初始化

// 创建了一个路由对象
const router = new VueRouter({
  routes: [
    { path: '/', redirect: '/home' },
    { path: '/home', component: Home },
    { path: '/search/:words?', component: Search },
    { path: '*', component: NotFound }
  ],
  mode: "history"
})

export default router
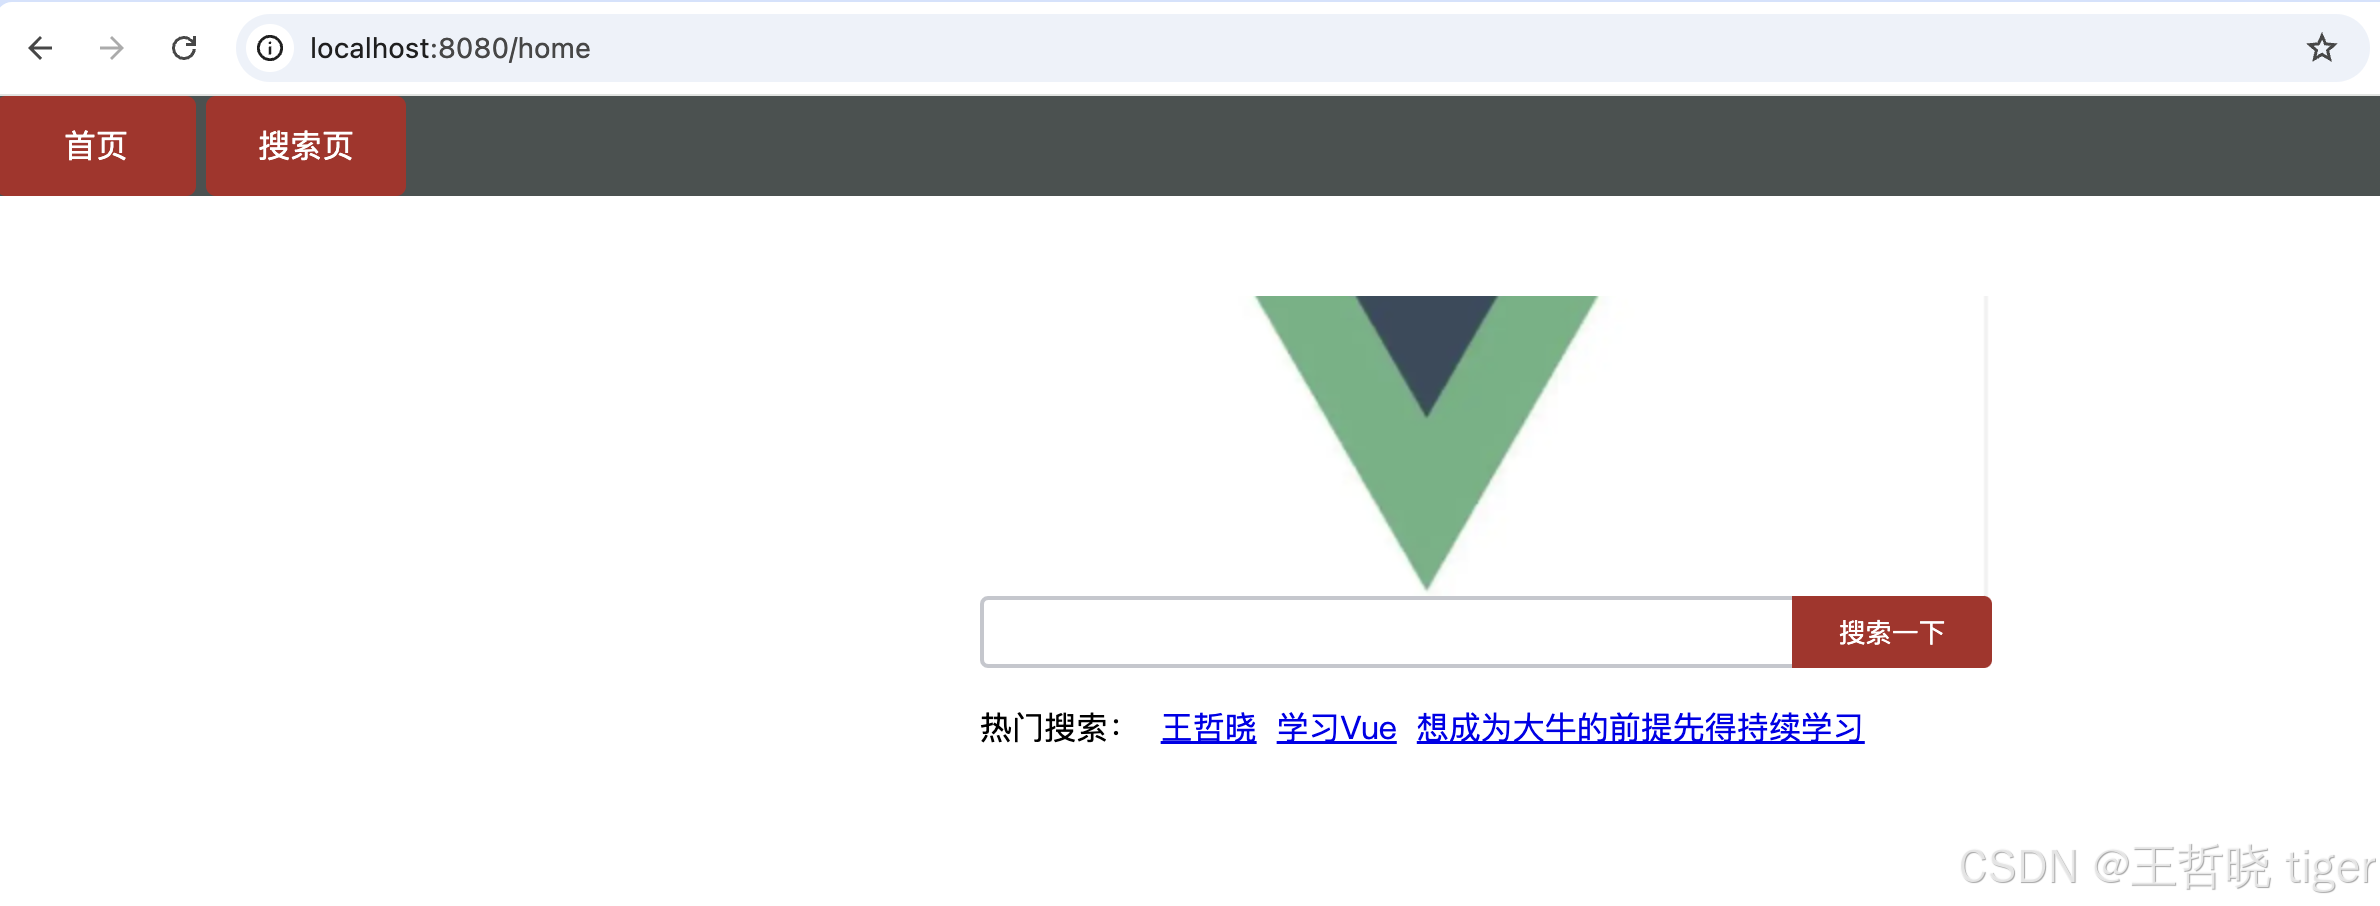
3.3. 运行效果

注:在选择了使用history模式后,地址栏就没有了#,这时候同时需要后端在nginx服务器中做相应的访问规则配置的修改。
原文地址:https://blog.csdn.net/qushaming/article/details/143655737
免责声明:本站文章内容转载自网络资源,如本站内容侵犯了原著者的合法权益,可联系本站删除。更多内容请关注自学内容网(zxcms.com)!
