服务器Debian 12.x中安装Jupyer并配置远程访问
服务器系统:Debian 12.x;IP地址:10.100.2.138
客户端:Windows 10;IP地址:10.100.2.38
利用ssh登录服务器:
1.安装python3
#apt install python3

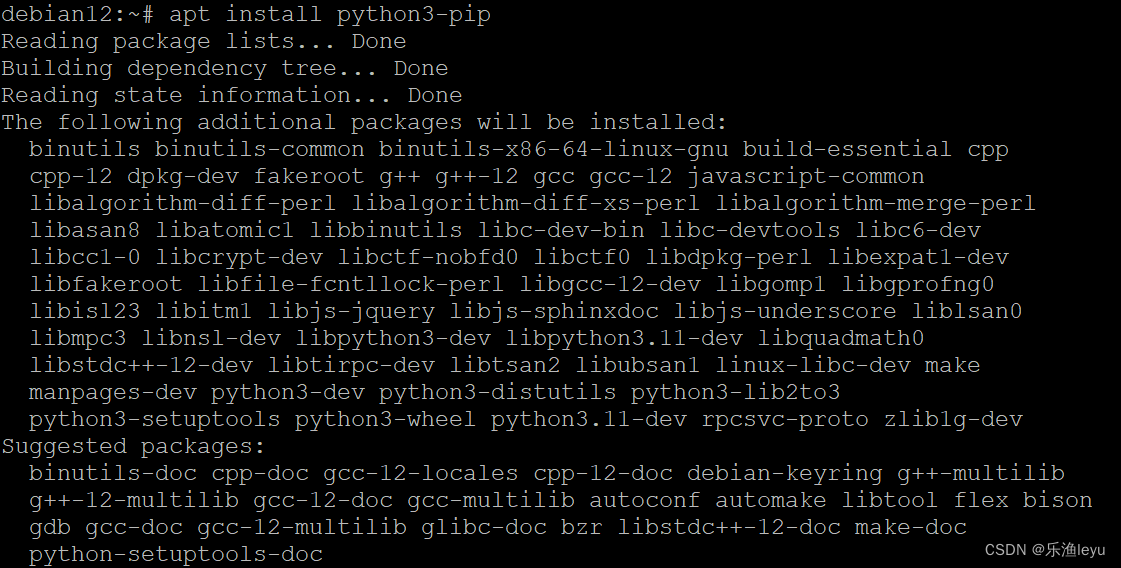
2.安装pip
#apt install python3-pip

…

3.安装virtualenv(建议)
设置虚拟环境,避免干扰系统的Python环境.
#apt install python3-virtualenv

4.创建虚拟环境
#cd /home/chxf(待创建虚拟环境的目录)
#virtualenv my-jupyter-env


5.激活虚拟环境
#source my-jupyter-env/bin/activate

终端提示符有变化,激活成功.
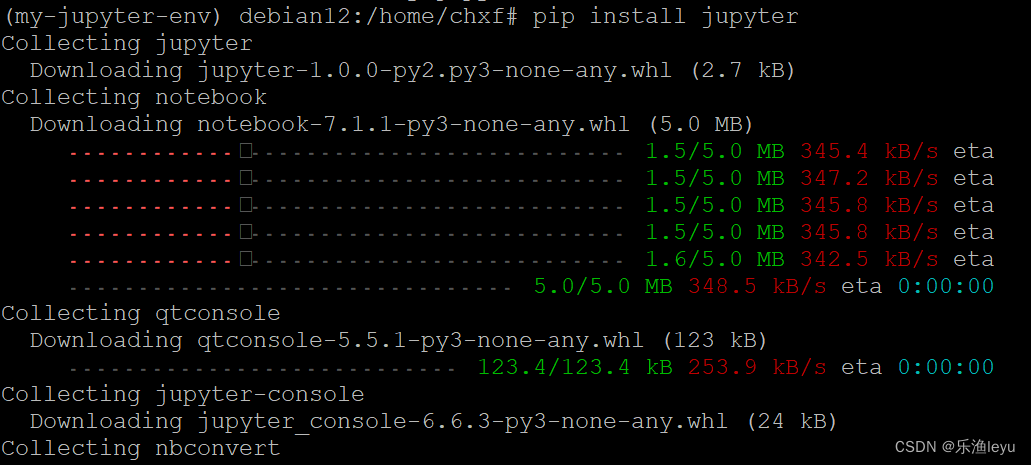
6.安装Jupyter Notebook
虚拟环境之终端中,执行如下命令:
#pip install jupyter

…
7.启动Jupyter Notebook
退出root用户,以chxf(普通用户身份)启动Jupyter Notebook


8.配置Jupyter Notebook,远程访问
(1)生成配置文件
#jupyter notebook --generate-config

(2)设置Jupyter的密码
#jupyter notebook password

(3)为jupyter_notebook_config.py增加如下内容(见图)

c.NotebookApp.allow_remote_access = True
#允许远程访问
c.NotebookApp.ip = ‘*’
#允许通过任意绑定服务器的ip访问
c.NotebookApp.notebook_dir = " 默认登录目录"
c.NotebookApp.open_browser = False
不自动打开浏览器
c.NotebookApp.port = 8888
#端口
9.运行Jupyter Notebook
jupyter notebook -ip 10.100.2.138 --port 8888 --no-browser
或jupyter notebook
客户端:
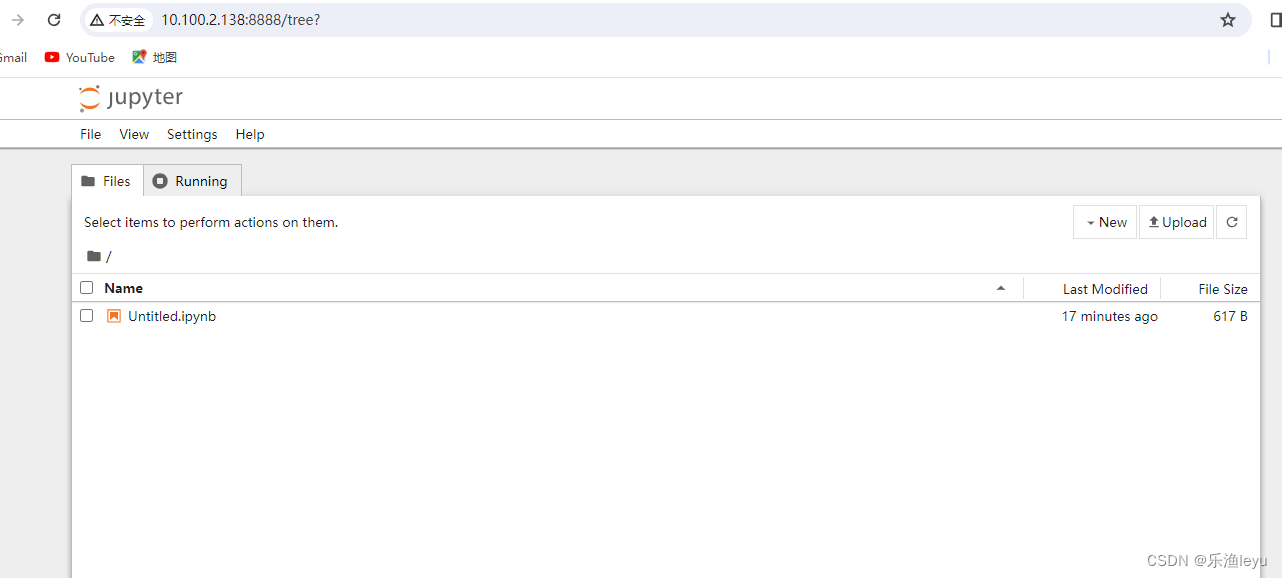
google chrome地址栏中:
http://10.100.2.138:8888/

原文地址:https://blog.csdn.net/my1114/article/details/136716370
免责声明:本站文章内容转载自网络资源,如本站内容侵犯了原著者的合法权益,可联系本站删除。更多内容请关注自学内容网(zxcms.com)!
