Android 提供特殊类型的触摸屏事件,例如捏合、双击、滚动、长按和退缩。 这些都被称为手势。

Android 提供了 GestureDetector 类来接收运动事件并告诉我们这些事件是否对应手势。 要使用它,您需要创建一个 GestureDetector 对象,然后使用 GestureDetector.SimpleOnGestureListener 扩展另一个类来充当侦听器并覆盖一些方法。 它的语法如下 −

GestureDetector myG;
myG = new GestureDetector(this,new Gesture());
   
class Gesture extends GestureDetector.SimpleOnGestureListener{
   public boolean onSingleTapUp(MotionEvent ev) {
   }
   
   public void onLongPress(MotionEvent ev) {
   }
   
   public boolean onScroll(MotionEvent e1, MotionEvent e2, float distanceX,
   float distanceY) {
   }
   
   public boolean onFling(MotionEvent e1, MotionEvent e2, float velocityX,
   float velocityY) {
   }
}
  • 1.
  • 2.
  • 3.
  • 4.
  • 5.
  • 6.
  • 7.
  • 8.
  • 9.
  • 10.
  • 11.
  • 12.
  • 13.
  • 14.
  • 15.
  • 16.
  • 17.
  • 18.

处理捏合手势

Android 提供 ScaleGestureDetector 类来处理诸如捏合等手势。 为了使用它,你需要实例化这个类的一个对象。 它的语法如下 −

ScaleGestureDetector SGD;
SGD = new ScaleGestureDetector(this,new ScaleListener());
  • 1.
  • 2.

第一个参数是上下文,第二个参数是事件监听器。 我们必须定义事件侦听器并重写函数 OnTouchEvent 以使其工作。 它的语法如下 −

public boolean onTouchEvent(MotionEvent ev) {
   SGD.onTouchEvent(ev);
   return true;
}

private class ScaleListener extends ScaleGestureDetector.SimpleOnScaleGestureListener {
   @Override
   public boolean onScale(ScaleGestureDetector detector) {
      float scale = detector.getScaleFactor();
      return true;
   }
}
  • 1.
  • 2.
  • 3.
  • 4.
  • 5.
  • 6.
  • 7.
  • 8.
  • 9.
  • 10.
  • 11.
  • 12.

除了捏合手势之外,还有其他方法可以通知更多有关触摸事件的信息。 它们在下面列出 −

序号

方法 & 描述

1

getEventTime()

该方法获取当前正在处理的事件的事件时间。

2

getFocusX()

该方法获取当前手势焦点的 X 坐标。

3

getFocusY()

此方法获取当前手势焦点的 Y 坐标。

4

getTimeDelta()

此方法返回上一个接受的缩放事件和当前缩放事件之间的时间差(以毫秒为单位)。

5

isInProgress()

如果正在进行缩放手势,则此方法返回 true

6

onTouchEvent(MotionEvent event)

此方法接受 MotionEvents 并在适当时分派事件。


示例

这是一个演示使用 ScaleGestureDetector 类的示例。 它创建了一个基本应用程序,允许您通过捏合放大和缩小。

要试验此示例,您可以在实际设备或启用了触摸屏的模拟器中运行它。

步骤

描述

1

您将使用 Android Studio 在 com.example.sairamkrishna.myapplication 包下创建一个 Android 应用程序。

2

修改 src/MainActivity.java 文件添加必要的代码。

3

修改 res/layout/activity_main 以添加相应的 XML 组件

4

运行应用程序并选择一个正在运行的 android 设备并在其上安装应用程序并验证结果

以下是修改后的主活动文件src/MainActivity.java的内容。

package com.example.sairamkrishna.myapplication;

import android.app.Activity;
import android.graphics.Matrix;
import android.os.Bundle;

import android.view.MotionEvent;
import android.view.ScaleGestureDetector;
import android.widget.ImageView;

public class MainActivity extends Activity {
   private ImageView iv;
   private Matrix matrix = new Matrix();
   private float scale = 1f;
   private ScaleGestureDetector SGD;

   @Override
   protected void onCreate(Bundle savedInstanceState) {
      super.onCreate(savedInstanceState);
      setContentView(R.layout.activity_main);

      iv=(ImageView)findViewById(R.id.imageView);
      SGD = new ScaleGestureDetector(this,new ScaleListener());
   }

   public boolean onTouchEvent(MotionEvent ev) {
      SGD.onTouchEvent(ev);
      return true;
   }

   private class ScaleListener extends ScaleGestureDetector.
      SimpleOnScaleGestureListener {
      
      @Override
      public boolean onScale(ScaleGestureDetector detector) {
         scale *= detector.getScaleFactor();
         scale = Math.max(0.1f, Math.min(scale, 5.0f));
         matrix.setScale(scale, scale);
         iv.setImageMatrix(matrix);
         return true;
      }
   }
}
  • 1.
  • 2.
  • 3.
  • 4.
  • 5.
  • 6.
  • 7.
  • 8.
  • 9.
  • 10.
  • 11.
  • 12.
  • 13.
  • 14.
  • 15.
  • 16.
  • 17.
  • 18.
  • 19.
  • 20.
  • 21.
  • 22.
  • 23.
  • 24.
  • 25.
  • 26.
  • 27.
  • 28.
  • 29.
  • 30.
  • 31.
  • 32.
  • 33.
  • 34.
  • 35.
  • 36.
  • 37.
  • 38.
  • 39.
  • 40.
  • 41.
  • 42.
  • 43.

以下是xml res/layout/activity_main.xml 的修改内容。

这里 abc 表示 tutorialspoint 的 logo

<RelativeLayout 
   xmlns:android="http://schemas.android.com/apk/res/android"
   xmlns:tools="http://schemas.android.com/tools" 
   android:layout_width="match_parent"
   android:layout_height="match_parent" 
   android:paddingLeft="@dimen/activity_horizontal_margin"
   android:paddingRight="@dimen/activity_horizontal_margin"
   android:paddingTop="@dimen/activity_vertical_margin"
   android:paddingBottom="@dimen/activity_vertical_margin" 
   tools:context=".MainActivity" >
   
   <TextView android:text="Gestures  
      Example" android:layout_width="wrap_content"
      android:layout_height="wrap_content"
      android:id="@+id/textview"
      android:textSize="35dp"
      android:layout_alignParentTop="true"
      android:layout_centerHorizontal="true" />
      
   <TextView
      android:layout_width="wrap_content"
      android:layout_height="wrap_content"
      android:text="Tutorials point"
      android:id="@+id/textView"
      android:layout_below="@+id/textview"
      android:layout_centerHorizontal="true"
      android:textColor="#ff7aff24"
      android:textSize="35dp" />
      
   <ImageView
      android:layout_width="wrap_content"
      android:layout_height="wrap_content"
      android:id="@+id/imageView"
      android:src="@drawable/abc"
      android:scaleType="matrix"
      android:layout_below="@+id/textView"
      android:layout_alignParentLeft="true"
      android:layout_alignParentStart="true"
      android:layout_alignParentBottom="true"
      android:layout_alignParentRight="true"
      android:layout_alignParentEnd="true" />
      
</RelativeLayout>
  • 1.
  • 2.
  • 3.
  • 4.
  • 5.
  • 6.
  • 7.
  • 8.
  • 9.
  • 10.
  • 11.
  • 12.
  • 13.
  • 14.
  • 15.
  • 16.
  • 17.
  • 18.
  • 19.
  • 20.
  • 21.
  • 22.
  • 23.
  • 24.
  • 25.
  • 26.
  • 27.
  • 28.
  • 29.
  • 30.
  • 31.
  • 32.
  • 33.
  • 34.
  • 35.
  • 36.
  • 37.
  • 38.
  • 39.
  • 40.
  • 41.
  • 42.
  • 43.

以下是 res/values/string.xml 的内容。

<resources>
   <string name="app_name>My Application</string>
</resources>
  • 1.
  • 2.
  • 3.

以下是 AndroidManifest.xml 文件的内容。

<?xml version="1.0" encoding="utf-8"?>
<manifest xmlns:android="http://schemas.android.com/apk/res/android"
   package="com.example.sairamkrishna.myapplication" >

   <application
      android:allowBackup="true"
      android:icon="@drawable/ic_launcher"
      android:label="@string/app_name"
      android:theme="@style/AppTheme" >
      
      <activity
         android:name="com.example.sairamkrishna.myapplicationMainActivity"
         android:label="@string/app_name" >
         
         <intent-filter>
            <action android:name="android.intent.action.MAIN" />
            <category android:name="android.intent.category.LAUNCHER" />
         </intent-filter>
         
      </activity>
   
   </application>
</manifest>
  • 1.
  • 2.
  • 3.
  • 4.
  • 5.
  • 6.
  • 7.
  • 8.
  • 9.
  • 10.
  • 11.
  • 12.
  • 13.
  • 14.
  • 15.
  • 16.
  • 17.
  • 18.
  • 19.
  • 20.
  • 21.
  • 22.
  • 23.

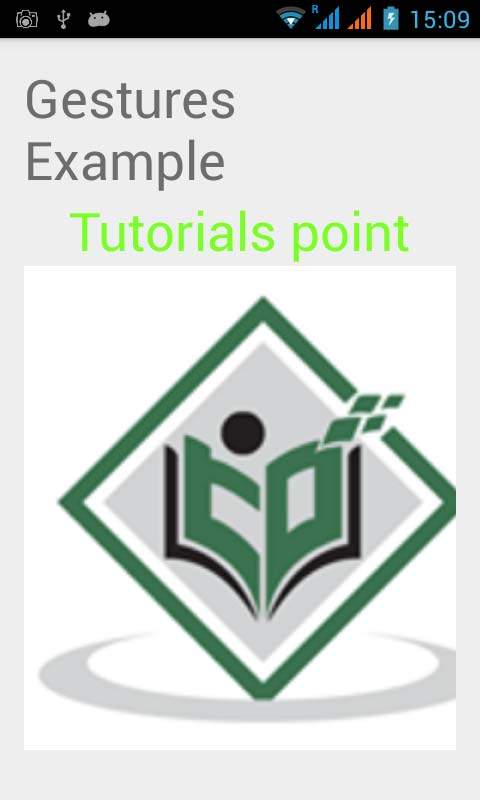
让我们尝试运行您的应用程序。 我假设您已将实际的 Android 移动设备与您的计算机连接起来。 要从 Android Studio 运行应用程序,请打开项目的一个活动文件,然后单击工具栏中的 Run 

Android - 手势_android

 图标。示例输出应该是这样的 −

Android - 手势_xml_02

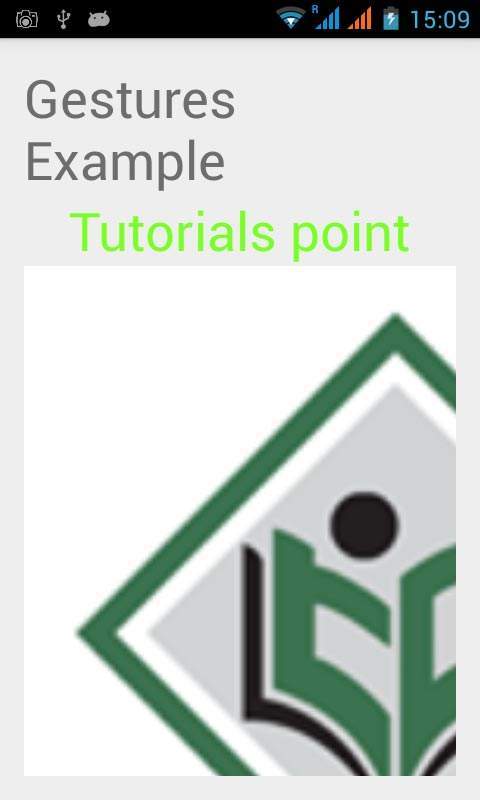
现在只需将两根手指放在 android 屏幕上,然后将它们分开,您会看到 android 图像正在缩放。 如下图所示 −
Android - 手势_xml_03

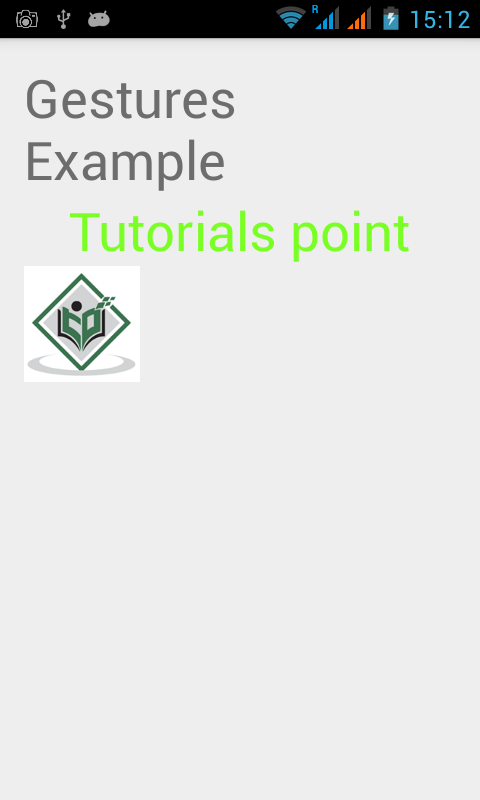
现在再次将两根手指放在安卓屏幕上,尝试合上它们,你会看到安卓图像正在缩小。 如下图所示 −
Android - 手势_android_04