基于Springboot+Mybatis+微信小程序实现小型运动管理平台
一、文章前言
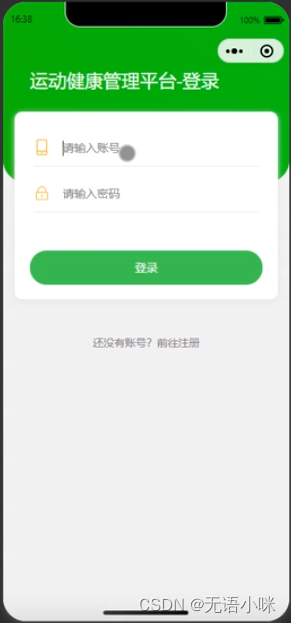
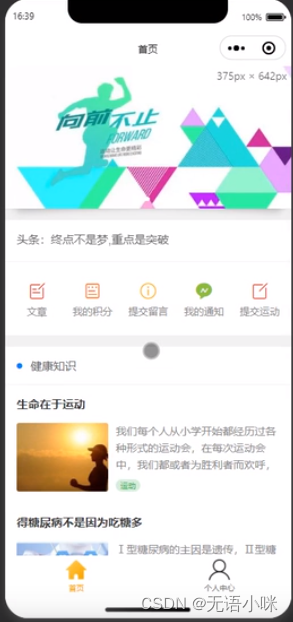
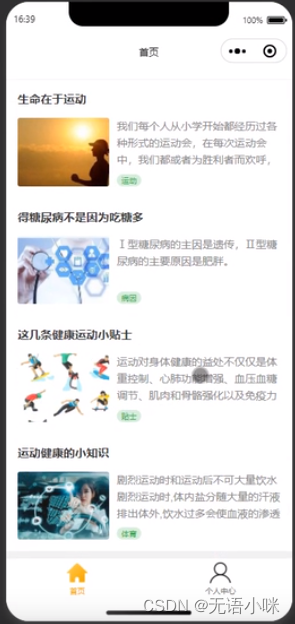
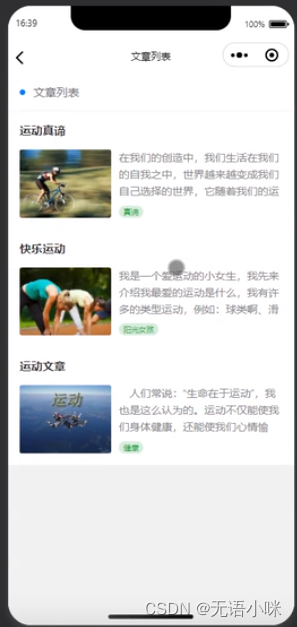
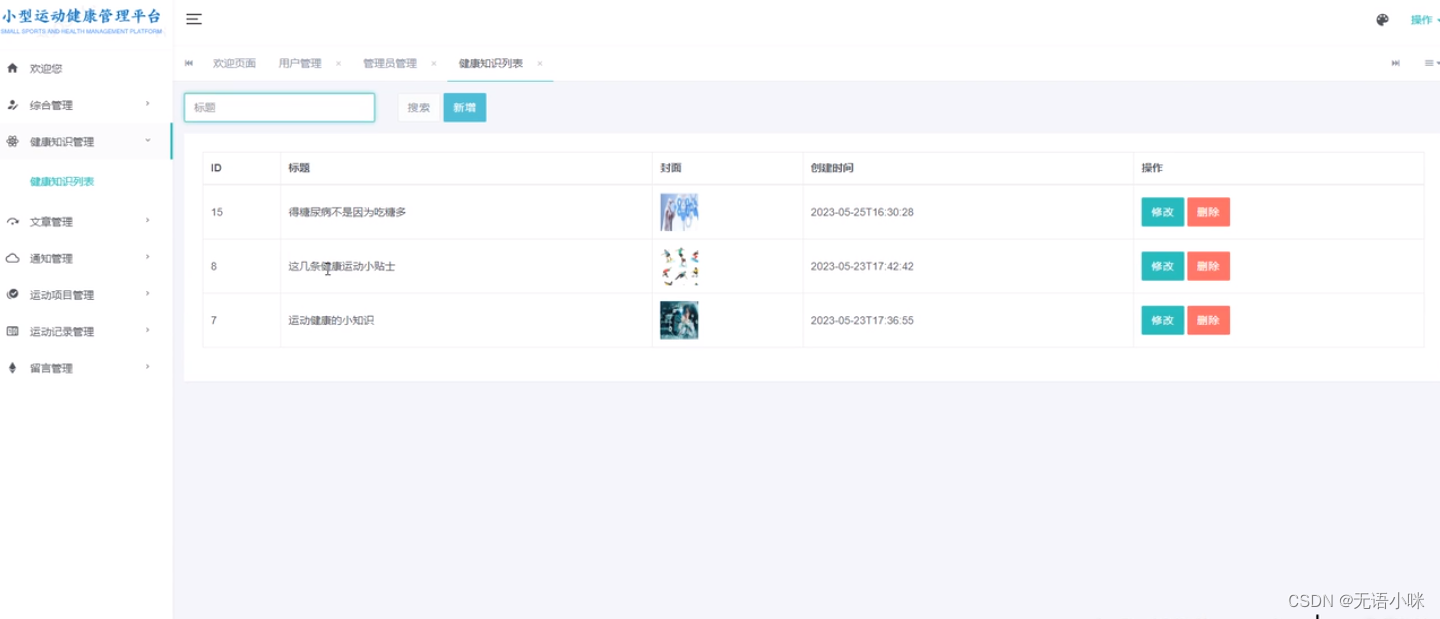
此文主要功能包括:运动健康平台登录注册、了解健康知识、查看管理运动的文章与详情、每日登录打卡、系统通知、留言管理、提交运动功能。使用Java作为后端语言进行支持,界面友好,开发简单。


二、开发流程及工具准备
2.1、下载安装IntelliJ IDEA(后端语言开发工具),Mysql数据库,微信Web开发者工具。
三、开发步骤
1.创建maven project
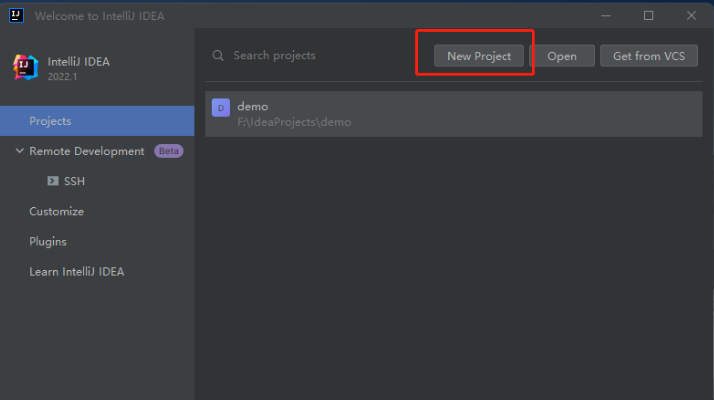
先创建一个名为SpringBootDemo的项目,选择【New Project】
然后在弹出的下图窗口中,选择左侧菜单的【New Project】(注:和2022之前的idea版本不同,这里左侧没有【Maven】选项,不要选【Maven Archetype】!!!),输入Name(项目名):SpringBootDemo,language选择【java】,build system选择【maven】,然后选择jdk,我这里选的是jdk18.
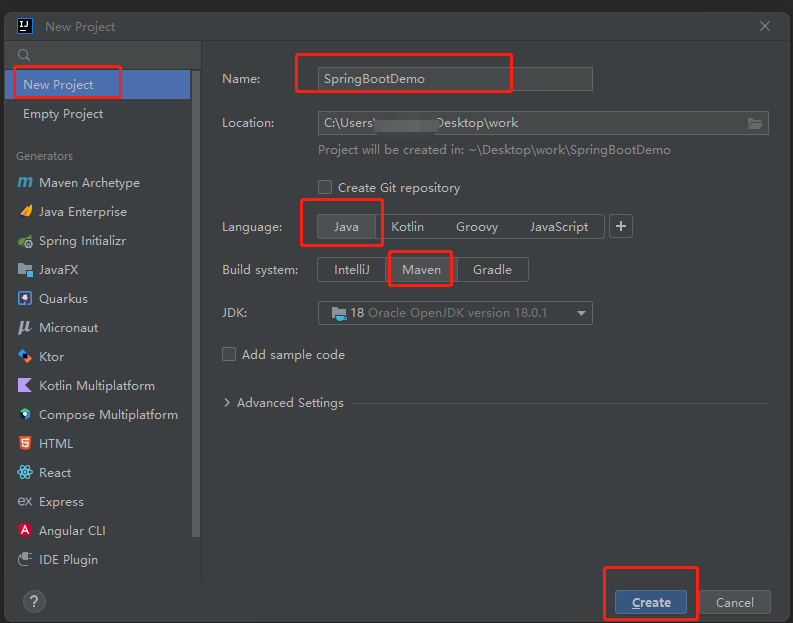 然后点击【Create】

2.在project下创建module
点击右键选择【new】—【Module…】
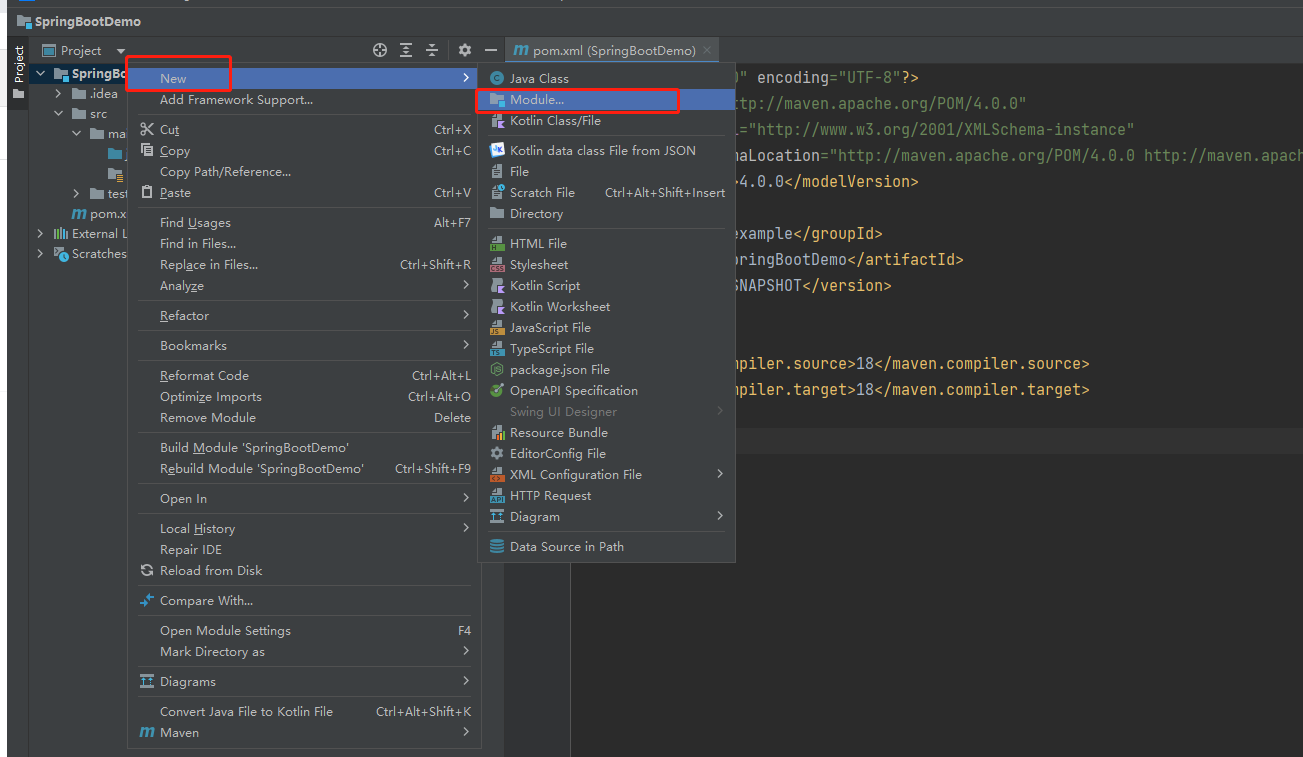
左侧选择【Spring initializr】,通过idea中集成的Spring initializr工具进行spring boot项目的快速创建。窗口右侧:name可根据自己喜好设置,group和artifact和上面一样的规则,其他选项保持默认值即可,【next】

Developer Tools模块勾选【Spring Boot DevTools】,web模块勾选【Spring Web】
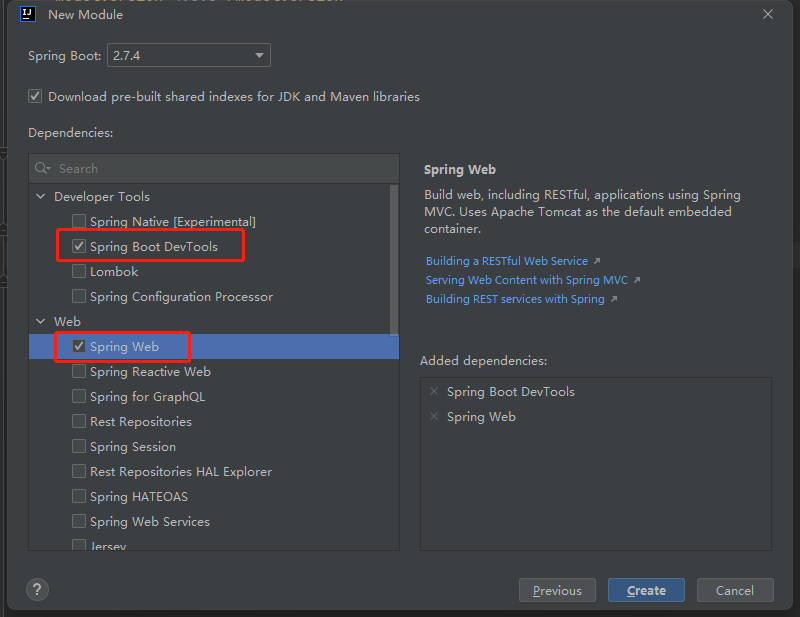
此时,一个Springboot项目已经搭建完成,可开发后续功能
3.编写一个运动实体类、Mapper、service(三层架构)
@Data
public class Motion {

    //运动记录id
    @TableId(type = IdType.AUTO)
    private Long id;

    //运动类型id
    private Integer typeId;

    //类型
    private Integer type;

    //用户id
    private Long userId;

    //运动分数
    private int num;

    //创建使劲
    private LocalDateTime createTime;

    //运动内容
    private String content;

}
由于我们使用mybatis-plus,所以简单的增删改查不用自己写,框架自带了,只需要实现或者继承他的Mapper、Service

4.编写运动管理Controller类
@RestController
@RequestMapping("motion")
public class MotionController {

    @Autowired
    private MotionMapper motionMapper;


    @Autowired
    private MotionTypeMapper motionTypeMapper;


    @Autowired
    private UserMapper userMapper;


    //查询列表
    @PostMapping("selectPage")
    public Map selectPage(@RequestBody Motion motion, Integer pageSize, Integer pageNum) {
        ReturnMap returnMap = new ReturnMap();
        //分页需要的Page
        Page<Motion> page = new Page<>();
        page.setCurrent(pageNum + 1);
        page.setSize(pageSize);
        QueryWrapper<Motion> queryWrapper = new QueryWrapper<>();
        //可根据条件模糊查询
        Page<Motion> selectPage = motionMapper.selectPage(page, queryWrapper.lambda()
                .eq(motion.getTypeId() != null, Motion::getTypeId, motion.getTypeId())

                .orderByDesc(Motion::getCreateTime));

        List<Motion> list = selectPage.getRecords();
        for (Motion data : list) {
            MotionType motionType = motionTypeMapper.selectById(data.getTypeId());
            data.setTypeName(motionType != null ? motionType.getTitle() : "");
            User user = userMapper.selectById(data.getUserId());
            data.setUserName(user != null ? user.getNickname() : "");
        }
        selectPage.setRecords(list);
        returnMap.setData("page", selectPage);
        return returnMap.getreturnMap();
    }


    //查询用于运动积分查询列表
    @PostMapping("list")
    public Map selectPage(Long userId) {
        ReturnMap returnMap = new ReturnMap();
        QueryWrapper<Motion> queryWrapper = new QueryWrapper<>();
        List<Motion> list = motionMapper.selectList
                (queryWrapper.lambda().eq(Motion::getUserId, userId).orderByDesc(Motion::getCreateTime));
        int integralSum = 0;
        for (Motion motion1 : list) {
            MotionType motionType = motionTypeMapper.selectById(motion1.getTypeId());
            if (motion1.getType() == 1) {
                motion1.setTitle("签到");
            } else {
                motion1.setTitle(motionType != null ? motionType.getTitle() : "");
            }
            motion1.setTypeName(motionType != null ? motionType.getTitle() : "");
            SimpleDateFormat simpleDateFormat = new SimpleDateFormat("yyyy-MM-dd");
            motion1.setTimeCreate(simpleDateFormat.format(Date.from(motion1.getCreateTime().atZone(ZoneId.systemDefault()).toInstant())));
            integralSum += motion1.getNum();

        }
        returnMap.setData("integralSum", integralSum);
        returnMap.setData("list", list);
        return returnMap.getreturnMap();
    }
因为要编写Rest风格的Api,要在Controller上标注@RestController注解
5.编写小程序相关代码
文章列表:
<view class="cu-bar bg-white solid-bottom">
    <view class="action">
      <text class="cuIcon-title text-blue"></text>文章列表
    </view>
  </view>
<view class="cu-card article no-card " wx:for="{{articleList}}" wx:key="{{index}}" bindtap="showModal" data-target="Modal" data-index="{{index}}">
  <view class="cu-item shadow">
    <view class="title">
      <view class="text-cut">{{item.title}}</view>
    </view>
    <view class="content">
      <image src="{{item.image}}" mode="aspectFill"></image>
      <view class="desc">
        <view class="text-content">{{item.content}}</view>
        <view>
          <view class="cu-tag bg-green light sm round">{{item.icon}}</view>
        </view>
      </view>
    </view>
  </view>
</view>
签到功能:
<view class="cu-bar bg-white solid-bottom">
    <view class="action">
      <text class="cuIcon-title text-green"></text>当前积分:{{integralSum}}
    </view>
    <view class="action" bindtap="signIn" >
      <text class="cuIcon-roundadd text-green">签到</text>
    </view>
  </view>

  <view class="cu-list menu {{menuBorder?'sm-border':''}} {{menuCard?'card-menu margin-top':''}}">
    <view class="cu-item" wx:for="{{integralRecord}}" wx:key="{{index}}">
      <view class="content padding-tb-sm">
        <view>
          <text class="cuIcon-footprint text-green margin-right-xs"></text> {{item.title}}</view>
        <view class="text-gray text-sm">
          <text class="cuIcon-time margin-right-xs"></text> {{item.timeCreate}}</view>
      </view>
      <view class="action">
        +{{item.num}}
      </view>
    </view>
  </view>
该项目对于初学Springboot框架友好,也对刚入门小程序的小白友好。因项目资源过大,可私信博主获取项目。
原文地址:https://blog.csdn.net/wml_JavaKill/article/details/135450080
免责声明:本站文章内容转载自网络资源,如本站内容侵犯了原著者的合法权益,可联系本站删除。更多内容请关注自学内容网(zxcms.com)!
