[ESP32]ESP-IDF使用组件添加U8g2图形库
U8g2
在ESP32使用u8g2的时候可以使用添加component的方式进行, 由于官方的component库没有, 这里我找到了一个可以使用的github库, 使用git的方式进行添加这一个库
具体的原理可以看[官方手册](https://docs.espressif.com/projects/esp-idf/zh_CN/stable/esp32/api-guides/tools/idf-component-manager.html#:~:text=IDF 组件管理器工)
添加
方式一
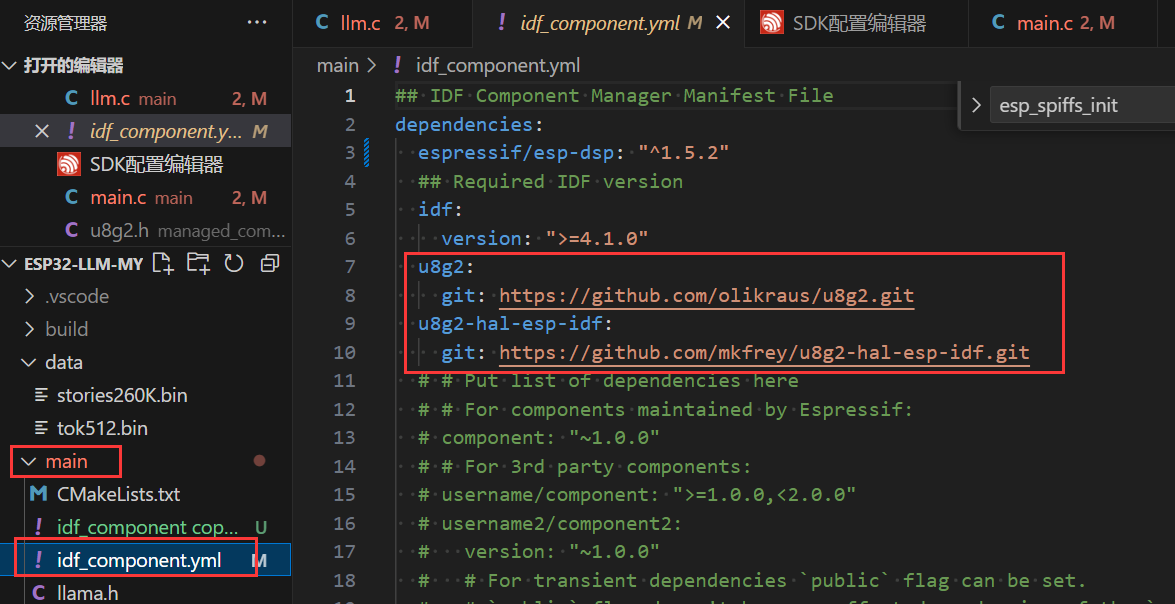
u8g2:
git: https://github.com/olikraus/u8g2.git
u8g2-hal-esp-idf:
git: https://github.com/mkfrey/u8g2-hal-esp-idf.git
在这一个文件里面添加这两行即可在编译的时候自动下载
方式2
这一个是README手册里面使用的方法
To use the actual U8g2 library in your ESP32 project, perform the following steps:
- Create a directory called
componentsin your main project directory. 添加一个组件文件夹 - Change into the
componentsdirectory. - Run
git clone https://github.com/mkfrey/u8g2-hal-esp-idf.gitto bring in the latest copy of this library. - Run
git clone https://github.com/olikraus/u8g2.gitto bring in a the latest copy of u8g2 library. 在这一个文件夹里面使用这两个命令
If your project itself is a git repository, you should consider using git submodule add instead of cloning.
实际使用
**注: **实际是对README文件的翻译
在实际使用的时候需要在使用U8g2的函数之前调用一下u8g2_esp32_hal_init() 函数, 这一个函数的作用实际是告诉ESP32我们使用到的引脚, Here is an example of SPI use:
u8g2_esp32_hal_t u8g2_esp32_hal = U8G2_ESP32_HAL_DEFAULT;
u8g2_esp32_hal.bus.spi.clk   = PIN_CLK;
u8g2_esp32_hal.bus.spi.mosi  = PIN_MOSI;
u8g2_esp32_hal.bus.spi.cs    = PIN_CS;
u8g2_esp32_hal.dc    = PIN_DC;
u8g2_esp32_hal.reset = PIN_RESET;
u8g2_esp32_hal_init(u8g2_esp32_hal);
I2C的示例
u8g2_esp32_hal_t u8g2_esp32_hal = U8G2_ESP32_HAL_DEFAULT;
u8g2_esp32_hal.bus.i2c.sda = PIN_SDA;
u8g2_esp32_hal.bus.i2c.scl = PIN_SCL;
u8g2_esp32_hal_init(u8g2_esp32_hal);
需要在调用这一个函数以后设置一下I2C的地址
u8x8_SetI2CAddress(&u8g2.u8x8,<address>);
Note that <address> is the I2C address already shifted left to include the read/write flag. For example, if you are using an SSD1305, instead of supplying the address 0x3C which would be 0011 1100 supply 0x78 which would be 0111 1000.
这一个地址是一个进行左移一位(空出来读写位)的地址
之后即可进行正常的初始化过程
示例
#include <u8g2.h>
#include "u8g2_esp32_hal.h"
/**
 * @brief Configure SSD1306 display
 * Uses I2C connection
 */
void init_display(void)
{
//设置一下使用的引脚
    u8g2_esp32_hal_t u8g2_esp32_hal = U8G2_ESP32_HAL_DEFAULT;
    u8g2_esp32_hal.bus.i2c.sda = PIN_SDA;
    u8g2_esp32_hal.bus.i2c.scl = PIN_SCL;
    u8g2_esp32_hal_init(u8g2_esp32_hal);
    // 针对不同的屏幕使用不同的初始化函数
    u8g2_Setup_ssd1306_i2c_128x64_noname_f(
        &u8g2, U8G2_R0,
        // u8x8_byte_sw_i2c,
        u8g2_esp32_i2c_byte_cb,
        u8g2_esp32_gpio_and_delay_cb); // init u8g2 structure
    // 0x3c
    u8x8_SetI2CAddress(&u8g2.u8x8, OLED_I2C_ADDRESS);
    u8g2_InitDisplay(&u8g2);     // send init sequence to the display, display is in
                                 // sleep mode after this,
    u8g2_SetPowerSave(&u8g2, 0); // wake up display
    u8g2_ClearBuffer(&u8g2);
}
原文地址:https://blog.csdn.net/qq_61585528/article/details/142718177
免责声明:本站文章内容转载自网络资源,如本站内容侵犯了原著者的合法权益,可联系本站删除。更多内容请关注自学内容网(zxcms.com)!