threejs-光线投射实现3d场景交互事件
一、介绍
1.属性
// 创建射线
const raycaster = new three.Raycaster()
// 创建鼠标向量(保存鼠标点击位置)
const mouse = new three.Vector2()
// 创建点击事件
window.addEventListener('click',(event)=>{
  // 获取鼠标点击位置
  mouse.x = (event.clientX / window.innerWidth) * 2 - 1
  mouse.y = -(event.clientY / window.innerHeight) * 2 + 1
  // 创建射线并检测点击物体
  raycaster.setFromCamera(mouse, camera)
  // 计算物体和射线的焦点
  const intersects = raycaster.intersectObjects(scene.children)
    //检测是否点击到物体 值scene.children或[sphere1,sphere2,sphere3]
    // intersects 中值 face:面信息  normal:象限向量  object:选中的物体
  }
})
二、展示
1.效果
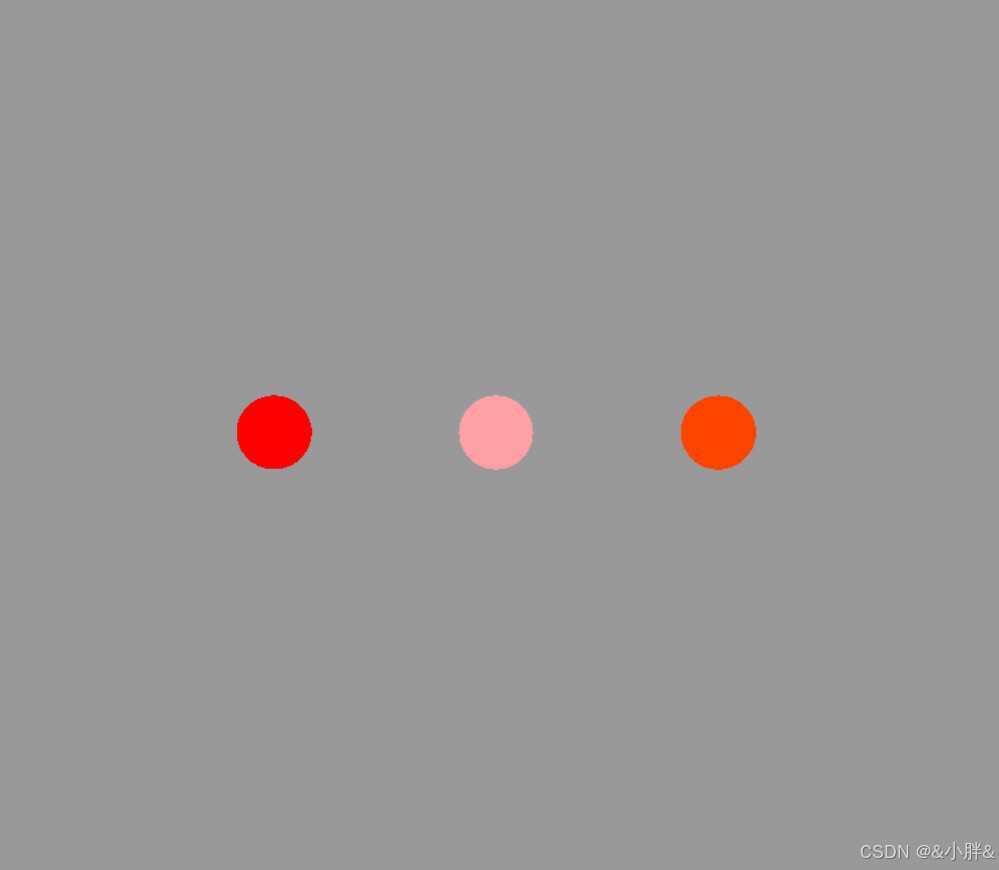
注意:点击小球存在点击后颜色变化
2.代码
// 导入threejs文件
import * as three from 'three'
// 导入轨道控制器
import { OrbitControls } from 'three/examples/jsm/controls/OrbitControls.js'
// 创建场景
const scene = new three.Scene()
// 创建相机
const camera = new three.PerspectiveCamera(
  45, //视角 值越多视野越大
  window.innerWidth / window.innerHeight, //宽高比
  0.1, //近平面(相机最近能看到的物体)
  1000 //远平面(相机最远能看到的物体)
)
// 创建渲染器
const renderer = new three.WebGLRenderer()
renderer.setSize(window.innerWidth, window.innerHeight)
document.body.appendChild(renderer.domElement)
// 添加背景颜色
scene.background = new three.Color(0x999999)

// 创建三个球
const sphere1 = new three.Mesh(
  new three.SphereGeometry(0.5, 32, 32),
  new three.MeshBasicMaterial({ color: 0x4444ff })
)
sphere1.position.x = -3
const sphere2 = new three.Mesh(
  new three.SphereGeometry(0.5, 32, 32),
  new three.MeshBasicMaterial({ color: 0xffa0a4 })
)
const sphere3 = new three.Mesh(
  new three.SphereGeometry(0.5, 32, 32),
  new three.MeshBasicMaterial({ color: 0xff4400 })
)
sphere3.position.x = 3

// 加入场景
scene.add(sphere1)
scene.add(sphere2)
scene.add(sphere3)
console.log(scene);

// 创建射线
const raycaster = new three.Raycaster()
// 创建鼠标向量(保存鼠标点击位置)
const mouse = new three.Vector2()
// 创建点击事件
window.addEventListener('click',(event)=>{
  // 获取鼠标点击位置
  mouse.x = (event.clientX / window.innerWidth) * 2 - 1
  mouse.y = -(event.clientY / window.innerHeight) * 2 + 1
  // 创建射线并检测点击物体
  raycaster.setFromCamera(mouse, camera)
  // 计算物体和射线的焦点
  const intersects = raycaster.intersectObjects(scene.children) //检测是否点击到物体 值scene.children或[sphere1,sphere2,sphere3]
  if(intersects.length > 0){
    // intersects 中值 face:面信息  normal:象限向量  object:选中的物体
    if(intersects[0].object.material.isSelect){
      intersects[0].object.material.color.set(intersects[0].object.material.oldColor)
      intersects[0].object.material.isSelect = false
    }else{
      intersects[0].object.material.oldColor = intersects[0].object.material.color.getHex()  // 重置旧颜色
      intersects[0].object.material.isSelect = true  // 重置状态
      intersects[0].object.material.color.set(0xff0000)  // 重置颜色
    }
  }

})

// 相机位置
camera.position.z = 15 //设置在z轴位置
camera.position.x = 1 //设置在x轴位置
camera.position.y = 1 //设置在y轴位置
// 看向位置
camera.lookAt(0, 0, 0) //看向原点
// 创建轨道控制器
const controls = new OrbitControls(camera, renderer.domElement)
controls.enableDamping = true // 启用阻尼系数:值越大,阻尼越明显
controls.dampingFactor = 0.5 //设置阻尼值
controls.enableZoom = true // 启用缩放:值为false时禁止缩放
// controls.autoRotate = true // 启用自动旋转:值为true时禁止手动旋转
controls.autoRotateSpeed = 0.5 // 自动旋转速度
// 渲染函数
const animate = () => {
  controls.update()
  requestAnimationFrame(animate) //每一帧调用函数
  // 旋转
  // cube.rotation.x += 0.01 // X轴转
  // cube.rotation.y += 0.01 // Y轴转
  renderer.render(scene, camera) // 重新渲染
}
animate()
原文地址:https://blog.csdn.net/a2739294436/article/details/142880677
免责声明:本站文章内容转载自网络资源,如本站内容侵犯了原著者的合法权益,可联系本站删除。更多内容请关注自学内容网(zxcms.com)!