Web 站点的欢迎页面
Web 站点的欢迎页面
一、JavaWeb 中的欢迎页
1.Tomcat 的默认欢迎页
- 当文件名设置为 index.html 的时候,不需要在 web.xml 文件中进行配置欢迎页面。这是因为小猫咪 Tomcat 服务器已经提前配置好了。
- 实际上配置欢迎页有两个地方可以配置:
- 一个是在 webapp 内部的 web.xml 文件中。(在这个地方配置的属于局部配置)
- 一个是在 CATALINA_HOME/conf/web.xml 文件中进行配置。(在这个地方配置的属于全局配置)
<welcome-file-list> <welcome-file>index.html</welcome-file> <welcome-file>index.htm</welcome-file> <welcome-file>index.jsp</welcome-file> </welcome-file-list>- Tomcat 服务器的全局欢迎页面是:index.html index.htm index.jsp。如果你一个 web 站点没有设置局部的欢迎页面,Tomcat 服务器就会以 index.html index.htm index.jsp 作为一个 web 站点的欢迎页面。
- 注意原则:局部优先原则。(就近原则)
2.局部配置欢迎页
- 第一步:在 IDEA 工具的 web 目录下新建一个文件 login.html
- 第二步:在 web.xml 文件中进行以下的配置
<!-- ① 如果欢迎页在根路径下 -->
<welcome-file-list>
<!-- 设置欢迎页面的时候,这个路径不需要以 ”/“ 开始。**并且这个路径默认是从 webapp 的根下开始查找** -->
<welcome-file>login.html</welcome-file>
</welcome-file-list>

<!-- ② 如果欢迎页不在根路径下 -->
<welcome-file-list>
<welcome-file>page1/page2/login.html</welcome-file>
</welcome-file-list>

<!-- ③设置多个欢迎页面 -->
<welcome-file-list>
<!-- 注意:越靠上的优先级越高。找不到的继续向下找 -->
<welcome-file>page1/page2/login1.html</welcome-file>
<welcome-file>page1/page2/login2.html</welcome-file>
</welcome-file-list>

<!-- 设置一个 servlet 为欢迎页面 -->
<!-- 欢迎页面就是一个资源,可以是静态资源也可以是动态资源 -->
 <welcome-file-list>
    <welcome-file>user/login</welcome-file>
</welcome-file-list>
二、SpringBoot 中的欢迎页
1.默认欢迎页
- 在 SpringBoot 中,默认的欢迎界面名称是 index.html。并且会在默认的资源路径下查找 index.html 文件。默认配置如下:
spring: web: resources: static-locations: classpath:/META-INF/resources/, classpath:/resources/, classpath:/static/ , classpath:/public/ - 则页面加载的顺序为如下:
① classpath:/META-INF/resources/
② classpath:/resources/
③ classpath:/static/
④ classpath:/public/
⑤ classpathL/templates/(如果使用thymeleaf视图技术的情况)
2.自定义欢迎页
(1) 通过页面跳转控制器方式
- 参考我的博客 ===> SpringBoot中的WebMvcConfigurer 中的第二部分,页面跳转控制器。
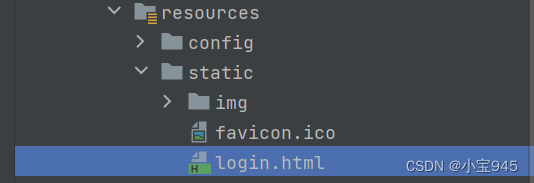
(2) controller 直接实现方式
- 第一步:创建一个 Controller 跳转到目标欢迎页。
@Controller public class IndexController { @RequestMapping("/") public String login(){ return "redirect:login.html"; } } - 第二步:编写欢迎页面。
- 第三步:浏览器地址栏输入地址
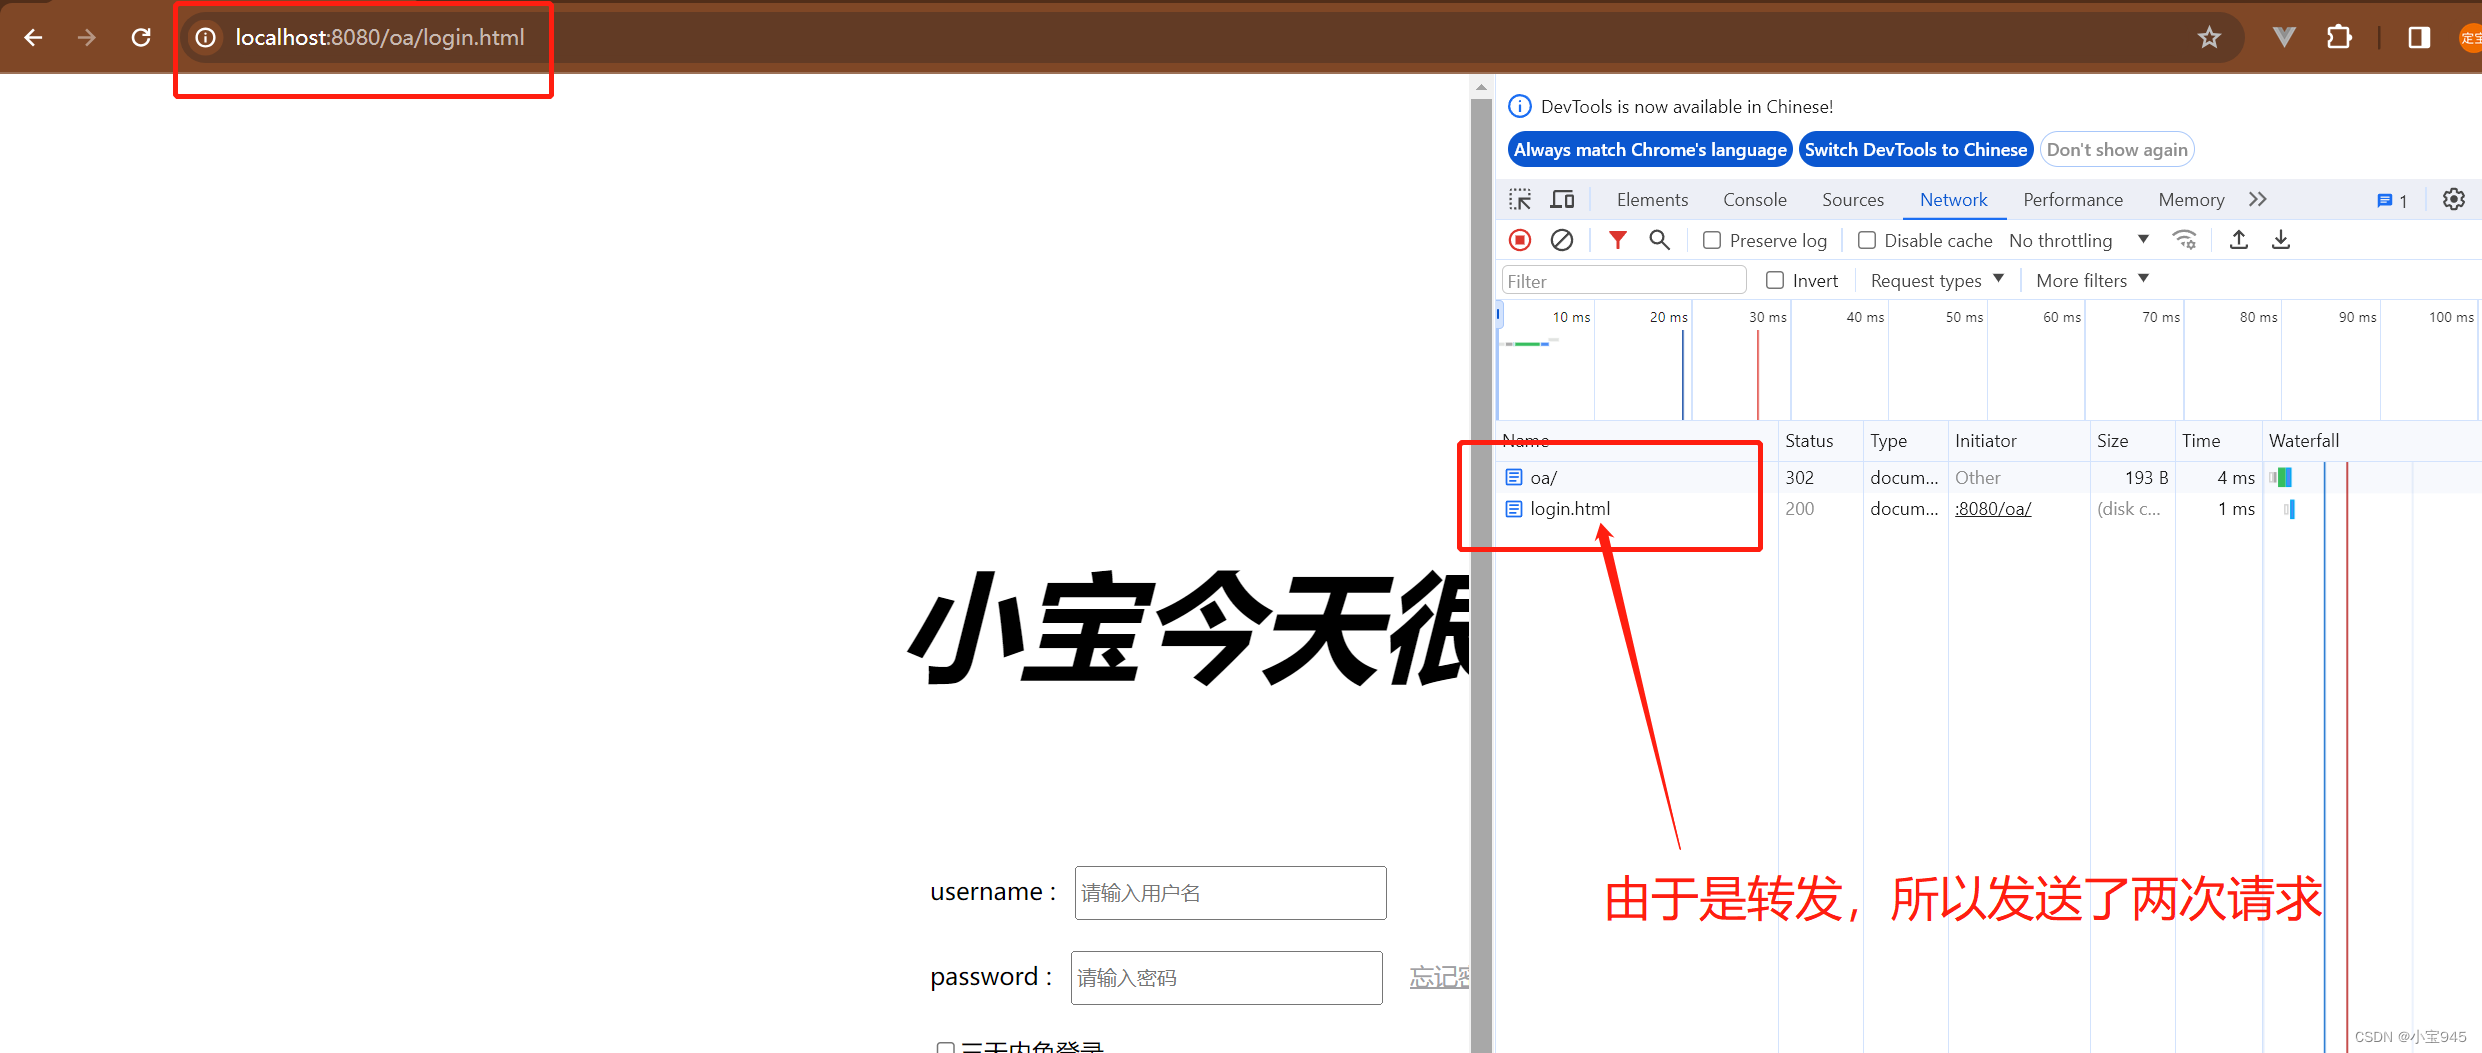
- 注意:如果使用了 Thymeleaf 视图技术的话,存放在 templates 目录下的资源是动态资源,没有办法直接访问的,所以不能使用重定向来实现页面的跳转,只能使用转发的方式实现。
- 还需要注意,动态页面如果要访问必须要经过视图解析器,否则无法访问,所以也不能使用完整路径的转发方式。
原文地址:https://blog.csdn.net/weixin_65032328/article/details/136033710
免责声明:本站文章内容转载自网络资源,如本站内容侵犯了原著者的合法权益,可联系本站删除。更多内容请关注自学内容网(zxcms.com)!